Showing posts with label side dish. Show all posts

Thursday, August 26, 2010

Oldie but Goodie: Perogies

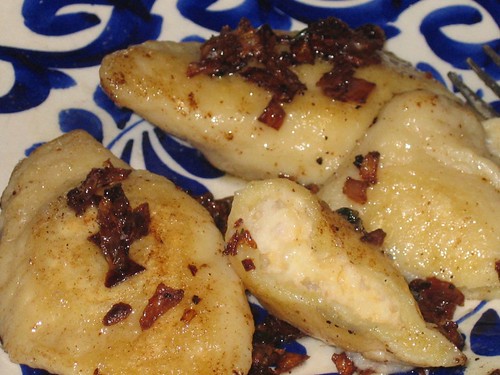
Perogies with Potato-Cheese filling
On Christmas night of 2006, my husband, my brother-in-law, Michael (along with Max and Lola), and myself had a barbecue--yes, a BBQ! It was very surreal for Matthew and Michael since they are used to a Minnesotan white Christmas, but for me, well, it's just typical. We grilled up steaks, and I made rosemary-garlicky mashed potatoes.

One thing I learned from my father-in-law, Jim, is to always cook extra potatoes and stash away a few unseasoned mashed potatoes for another use. This way, I can make lefse, gnocchi or even perogies the next day.

For me, perogies remind me of Boston because when I lived there with my now Russian ex-boyfriend, his mom used to make them for us all the time. Thank goodness that relationship went kaput, but at least I learned how to make these billowy potato dumplings. If you don't want to use a potato-cheese filling, you can also make a meat filling, like cooked ground beef with onions and olives, or even a sweet filling like ricotta with orange marmalade...believe me, the possibilities are endless.


INGREDIENTS

Potato and Cheese Filling (makes 3 cups)
  • 1 tablespoon grated onions (I used red onions)
  • 2 cups cold mashed potatoes
  • 1/2 cup cottage cheese (or ricotta cheese)
  • 1/2 cup grated mild or sharp cheddar cheese (you can also use Colby)
  • 1/2 teaspoon salt, or to taste
  • 1/4 teaspoon ground black pepper (use white pepper, if you have it)
  • OPTIONAL: I added fresh thyme to my filling, but you don't have to
DIRECTIONS
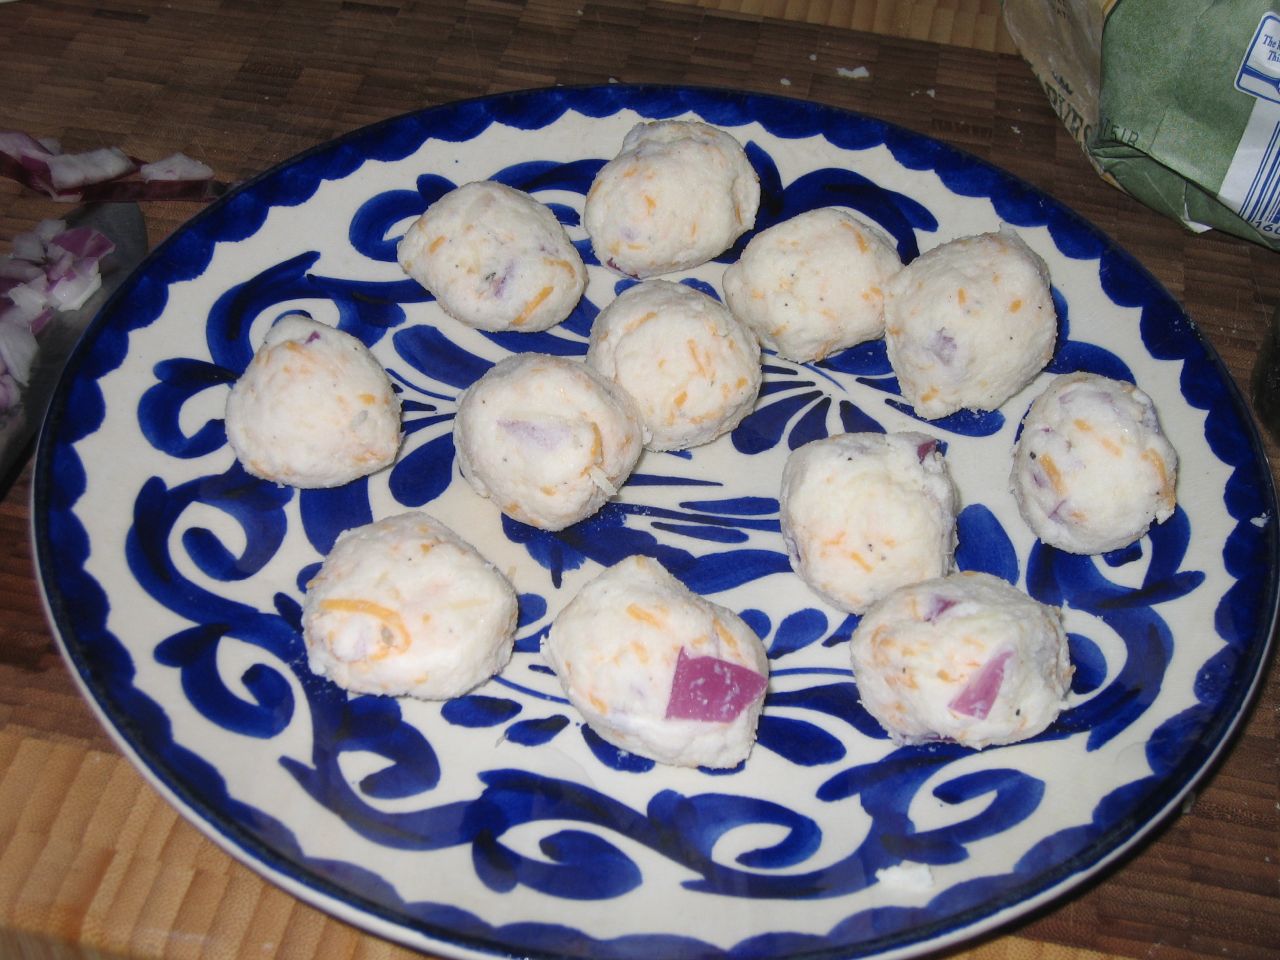
In a large bowl add grated onions, mashed potatoes, cottage cheese and grated cheddar cheese and mix well to combine. Taste filling for seasoning, and add salt and pepper, to taste. You can always vary the proportions and ingredients in this recipe to suit your taste. Note: The filling should be thick enough to hold its shape.

Now start forming tablespoon-sized balls with the filling and set filling aside.

INGREDIENTS Perogie (makes 12 to 18, depending on how thick you roll them out)
  • 2 1/2 cups flour
  • 1/2 teaspoon salt
  • 1 egg
  • 2 teaspoons oil
  • 1/4 cup sour cream
  • 2/3 to 3/4 cup warm water (depending on weather and humidity)
DIRECTIONS
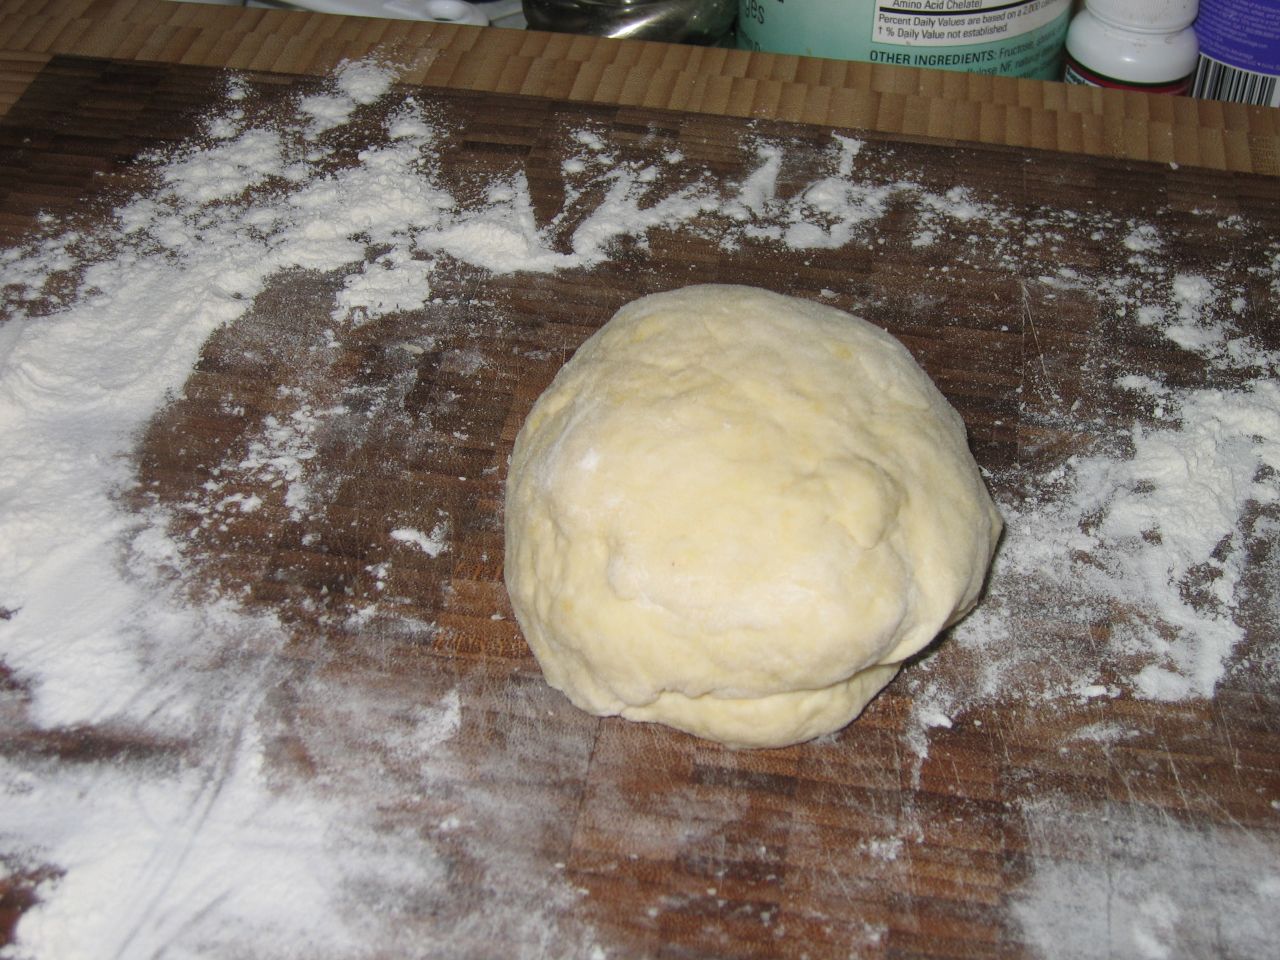
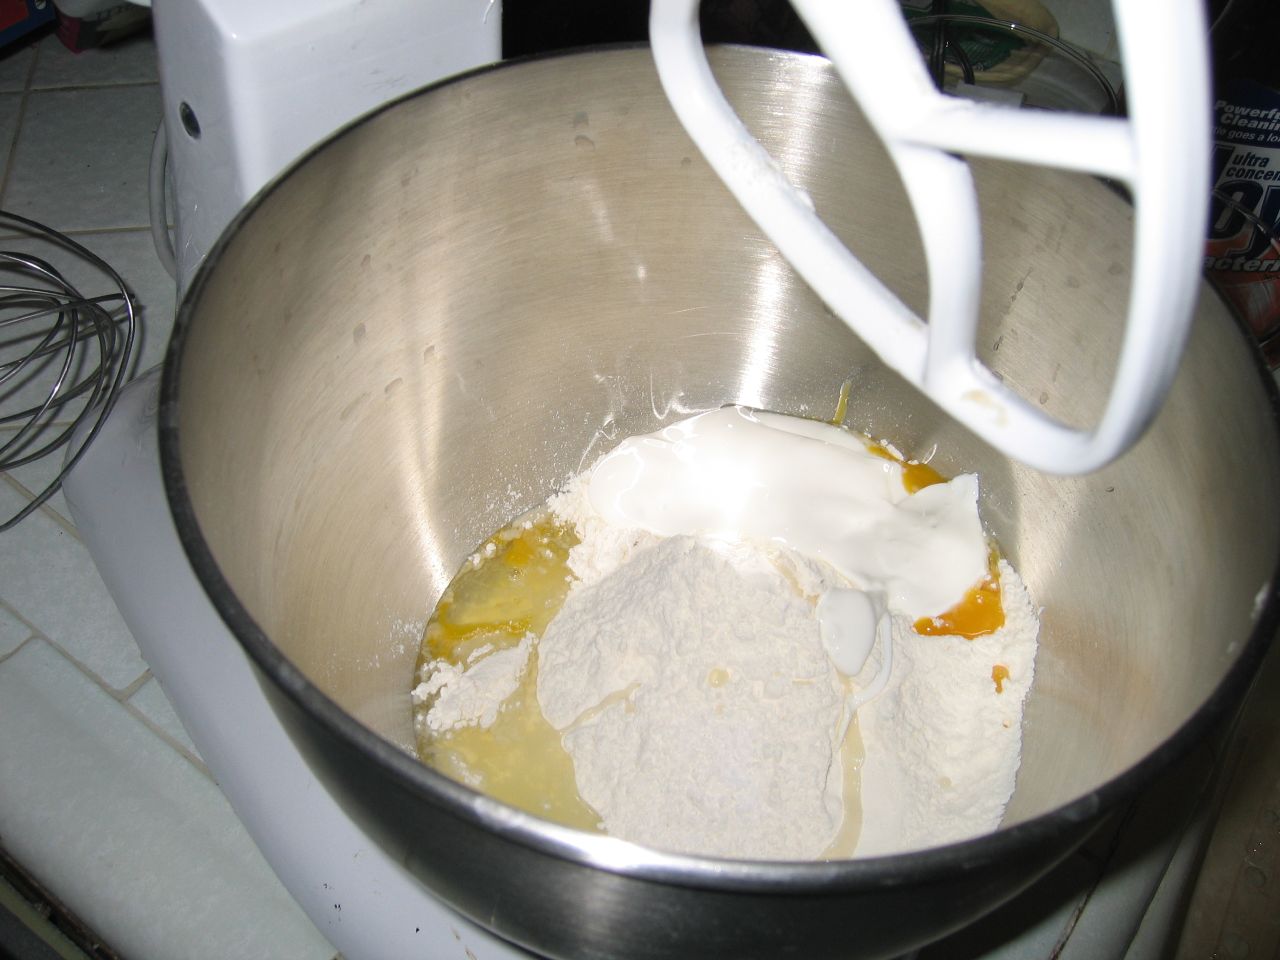
In a stand mixer or a large bowl, add the flour and salt and mix to combine. Add the egg, oil, sour cream and warm water and mix. Add enough water to form medium-soft dough. Knead the dough on a floured board until smooth. Do not over knead. Divide the dough into 2 parts and cover and let stand for 10 minutes.

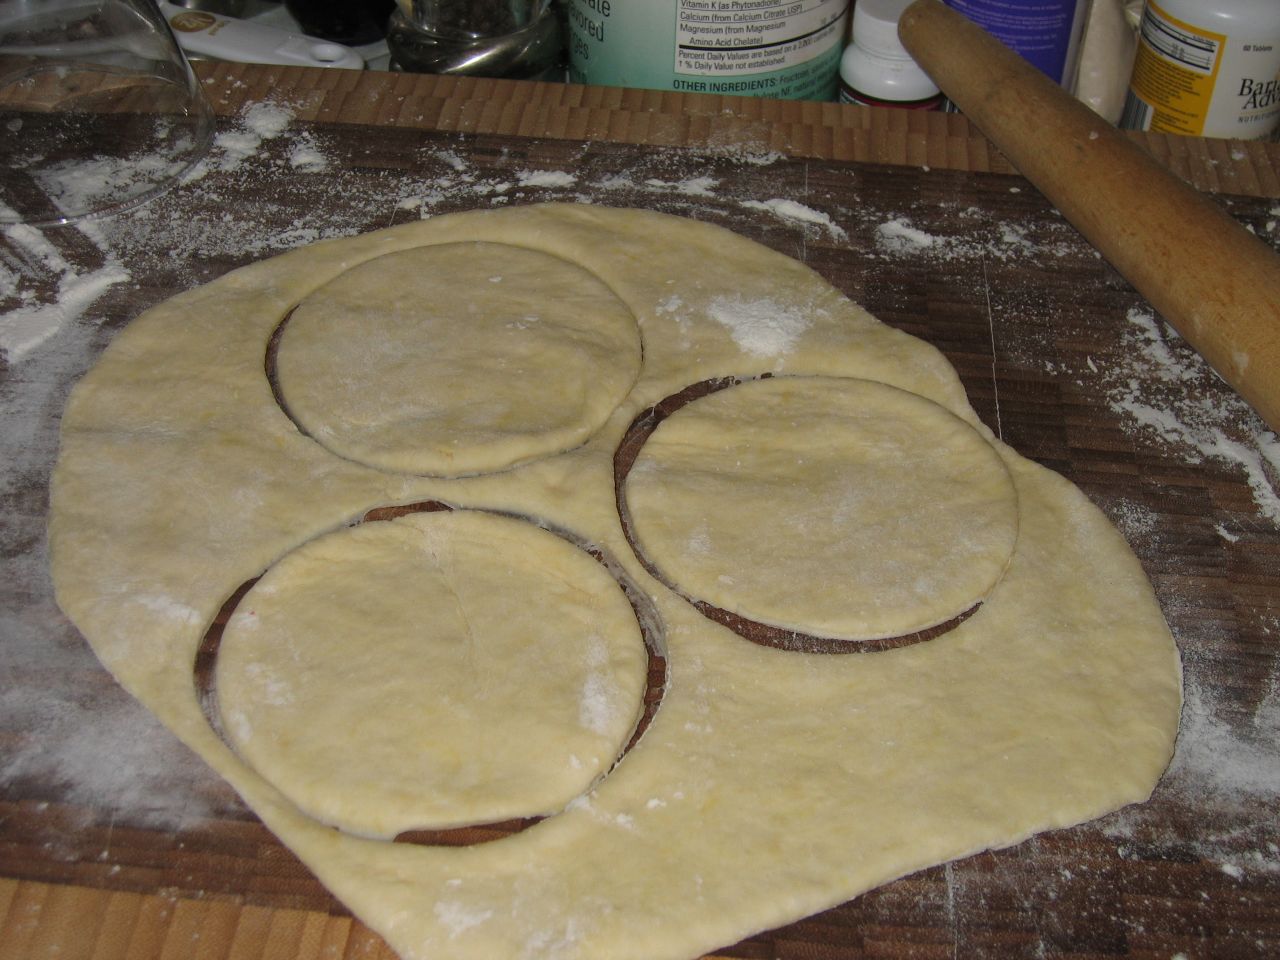
Now, roll out the dough about 1/8" thick (or thicker, deepening on how you like them) and cut out rounds with a large biscuit cutter or with the open end of a glass. Cut out about 4 rounds at a
time. Place the round on the palm of your hand then place one ball of filling into each round and
fold over to form a half circle. Press the edges together with fingers. You can crimp the edges, if you prefer, but make sure that the edges are sealed well to prevent the filling from running out.
Keep on making the perogies, and set them aside on a floured board or plate and cover with a tea towel or parchment paper to prevent from drying out.
TO COOK: Gently drop about 3 to 4 perogies into the rapidly boiling water and cook for 4 to 6 minutes, depending on thickness of dough. Do not cook more than 4 perogies at a time. Stir very gently with a wooden spoon to separate them and to prevent them from sticking to the bottom of the pot. Perogies are done when they puff up and float to the top. Removed cooked perogies with a perforated spoon or skimmer to a colander and drain thoroughly.
Place them in a deep dish and add butter to prevent them from sticking. Serve pergoies immediately and top with more melted butter or chopped, crisp bacon, or with chopped onions lightly browned in butter. NOTE: You can quickly pan-fry the perogies after you've boiled them in even more butter (which is what I did) and top them with cooked onions in butter. Talk about heart-attack!
If you don't plan cooking all perogies, simply place uncooked perogies on a floured cookie sheet. Make sure they are not touching each other, and freeze them. Once they have frozen solid, place them in a plastic baggie and keep frozen. TO REHEAT: Boil them in salted water for 7 to 10 minutes.
Monday, February 02, 2009

Best BBQ Beans Ever

Best BBQ Beans Ever!

[REPOST] As you may have noticed, I haven't posted many recipes lately and that's because Matt and I have had a steady stream of visitors lately. So, we've been entertaining out-of-town guests and I haven't been doing much cooking lately--but Matt has been doing quite of bit of grilling since our weather here is warming up nicely.

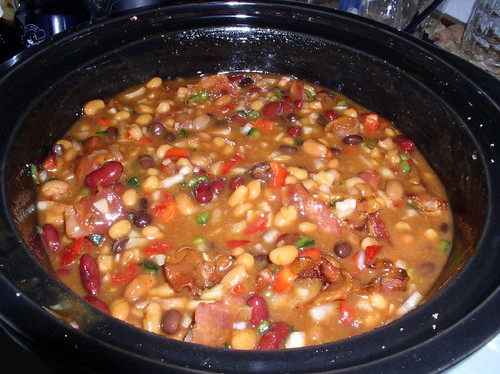
When it comes to grilling I always think of beans as a side dish, but not just any beans...BBQ beans! This is a recipe I tweaked from Steven Raichlen. He makes his beans over a grill and adds wood chips to a smoker box to give it a smoky flavor. I, on the other hand, added smoked bacon and liquid smoke to my crock-pot beans to give it that "outdoorsy" taste. These beans are simply fabulous and a sure hit at any BBQ.

INGREDIENTS (feeds about 14 people)

  • 1 pound smoked bacon cut into 2" pieces
  • 1 can (15 ounces) black beans
  • 1 can (15 ounces) dark red kidney beans
  • 3 cans (each 15 ounces) baked beans or pork and beans
  • 1 large sweet onion, finely chopped
  • 1 red bell pepper, cored, seeded, and finely chopped
  • 1 poblano pepper, seeded and finely chopped
  • 4 cloves garlic, minced
  • 2 jalapeño peppers, seeded and diced (for hotter beans, leave the seeds in)
  • 1 Anaheim pepper, seeded and diced
  • 2 cups sweet red barbecue sauce (your favorite commercial brand)
  • 1-1/2 cups firmly packed light brown sugar
  • 1/2 cup Dijon mustard
  • 2 teaspoons liquid smoke (optional)
  • 1 teaspoon kosher salt
  • 1/2 teaspoon freshly ground black pepper
DIRECTIONS
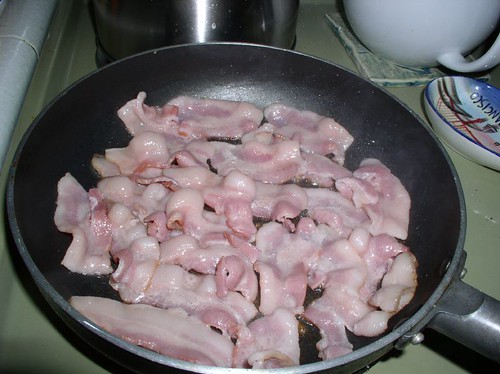
  1. Place the bacon in a large skillet over medium heat and fry until crisp and golden brown, about 5 minutes. Pour off all the bacon fat, saving two tablespoons for the beans.
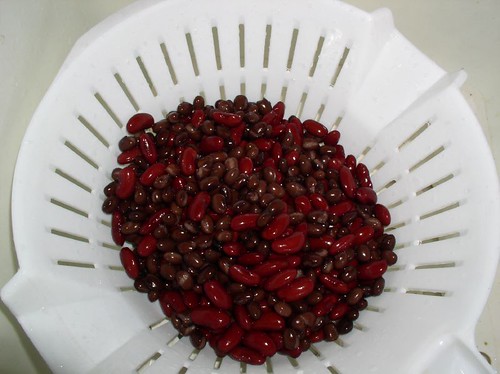
    frying up bacon drain the beans, man!
  2. Empty the cans of black and kidney beans into a colander and drain. Rinse the beans under cold running water and drain again. Place all the beans (including the baked beans or pork and beans) in your Crock Pot and add the onion, bell and poblano peppers, garlic, and jalapeños and Anaheim peppers and stir to mix.
  3. Add the barbecue sauce, brown sugar, mustard, liquid smoke, if using, and fried bacon and stir to mix. Taste for seasoning, adding more brown sugar and/or mustard as necessary, and add salt and black pepper; the beans should be very flavorful.
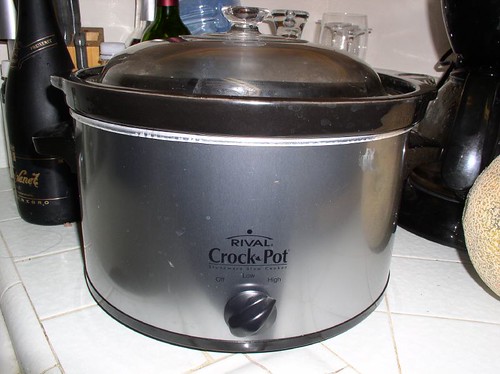
    the crock-pot
  4. Place the lid on your Crock pot and set it to "High." The beans will be ready in about 4 hours. If you're cooking them over the stove top, simmer them for 1-1/2 to 2 hours, stirrings once in a while. Add the reserved bacon grease (if using) to the beans about 10 minutes before serving and stir well. Your beans will be perfect!
Recipe slightly modified from Steven Raichlen's BBQU.NET

Monday, November 17, 2008

Chiles en Crema

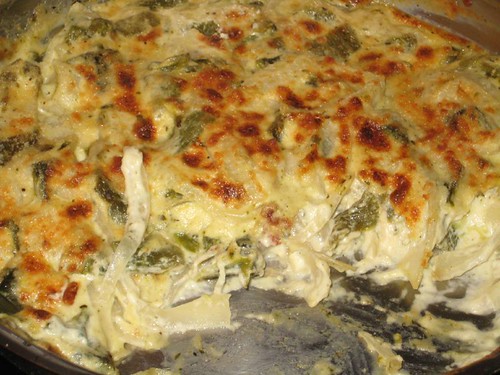
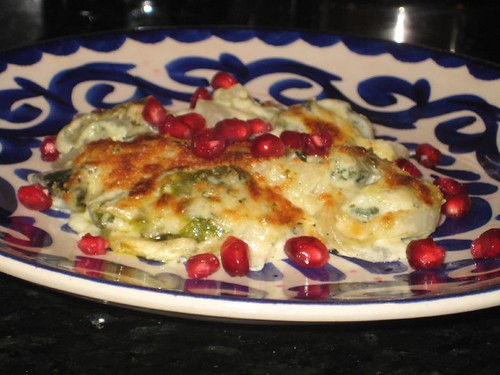
If you're adventurous and you like Mexican or Latin food, then this recipe may be up your alley. This is a great side dish and believe it or not, it goes great with turkey or chicken. My mom made this dish for Thanksgiving a couple of years ago and it's been a hit every since. She gave me the recipe last week and I recreated it last night. I used 3 very large Poblano peppers, which is just enough to feed 3 to 4 people. This is a super easy, low maintenance recipe and you only need 5 ingredients. The pomegranate seeds are not required, I just added them to make my plate look pretty.

INGREDIENTS (serves 4)

  • 4 large fresh Poblano pepper, charred and peeled and seeded
  • 1 white onion, cut into half moons
  • 1 teaspoon olive oil
  • 2/3 cup crema (you can find crema Mexicana in most grocery stores in the refrigerated section)
  • 2/3 cup grated Cotija cheese + more for sprinkling
  • salt
DIRECTIONS

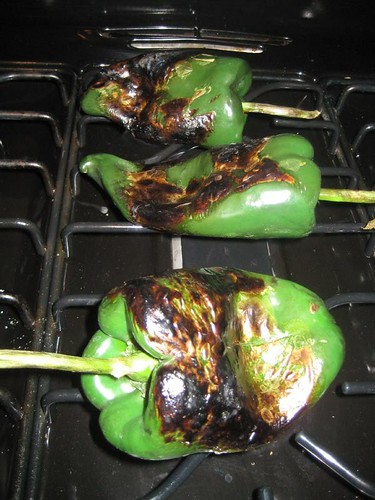
Char the pepper over your stove top or under your broiler. Once they are nicely charred, place them in a plastic bag and seal it. Wait 10 minutes, and then peel off charred skin. Remove stem and seeds inside. Chop up the pepper in a rough chop. Set aside.
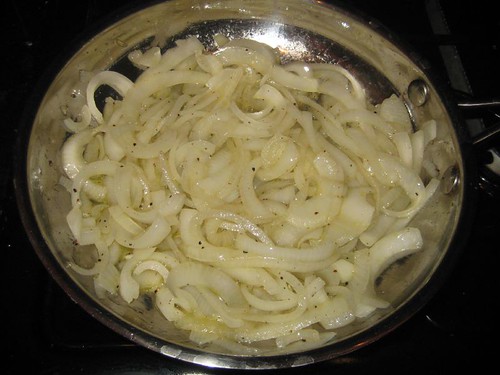
In a skillet heat the tablespoon of olive oil on medium. Add the onions and 1/4 teaspoon salt and sweat for about 10 minutes. Raise temperature to medium-high and sauté another 2 minutes. Add the chopped up peppers and let sauté a couple of minutes more, until everything gets nice and hot.
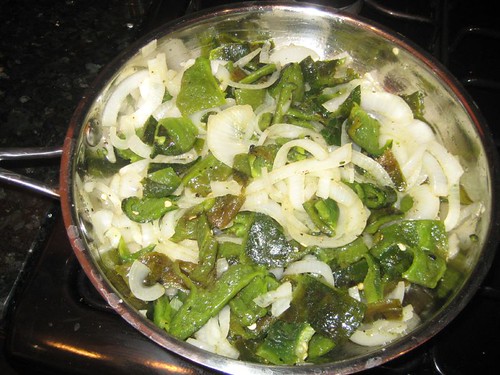
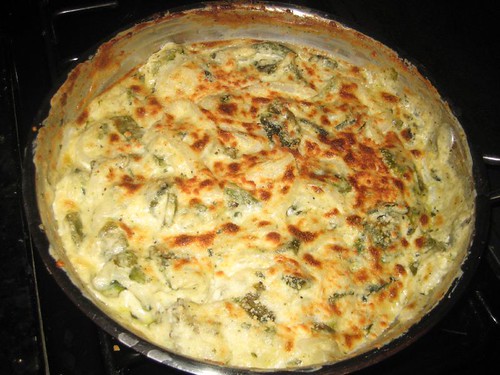
Lower heat to medium again and add the crema and cotija cheese. With a spatula, fold in all the ingredients until it all gets nicely mixed. Let it come to a light simmer (but don't boil), then remove from heat. You can serve immediately, or sprinkle a little more cotija on top and place the skillet (it has to be oven proof) under the broiler and let it broil for 5 to 8 minutes or until top gets bubbly and toasty. How easy was that?
Wednesday, May 09, 2007

Spinach and Gorgonzola Cream of Wheat

I was having a polenta craving last night but lo and behold, I did not have any quick-cooking polenta in the pantry. Incredibly enough, my local food shop did not have any polenta in stock. I was shocked, but that didn't stop me from making something up...so I came up with this recipe using cream of wheat. Yes, you heard right, cream of wheat--you know that stuff we used to eat as kids? Of course, it's not really the same as polenta, but it has that creaminess and richness that polenta possesses. If you do have polenta in your pantry, you can use that instead, but let me tell you this is a very unique version! This makes a great side dish to chicken or even fish.

INGREDIENTS (serves 4)

Mushroom Saute

  • 1 tsp. olive oil
  • 1 garlic clove, minced
  • 1/4 cup onion, chopped
  • 1 cup sliced button mushrooms
  • 1/4 cup white wine or champagne
  • 1 Tbsp. fresh parsley, finely chopped
  • Salt & pepper
  • Pinch of red pepper flakes
Savory Cream of Wheat
  • 1 2/3 cup low sodium chicken broth
  • 1/3 cup Malt-o-Meal Cream of Wheat
  • 2 Tbsp. half and half
  • 1 Tbsp. Parmesan cheese
  • 2 oz. (about a palmful) of Gorgonzola cheese (you can also use Gruyère cheese or mozzarella, if you don't like Gorgonzola or blue cheese)
  • 4 oz. fresh spinach
DIRECTIONS

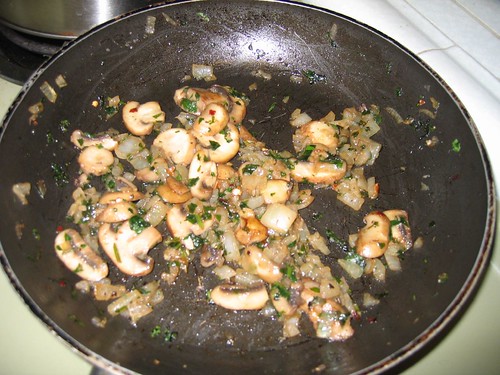
In a skillet, heat the olive oil over medium heat. Add the onion and sauté for one minute. Add the garlic and sauté until fragrant (about 30 seconds). Add the sliced mushrooms and sauté until they are lightly browned, about 5 minutes. Add the white wine or champagne and raise the heat to medium-high. Let all the alcohol evaporate. Season with salt and pepper and red pepper flakes. Add the chopped parsley, mix to combine. Remove from heat and set aside.

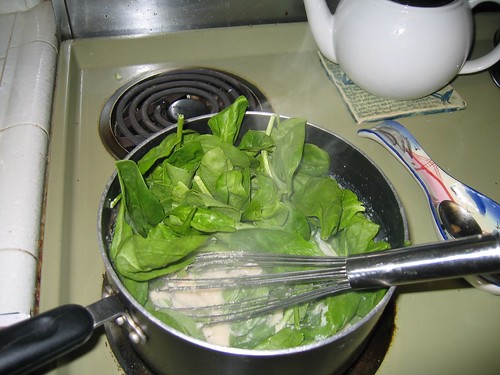
In a 4 quart sauce pan, add the chicken broth and bring to a boil. Slowly add the cream of wheat, whisking constantly with a whisk. Once all cream of wheat is incorporated, add the half and half and lower heat to medium. Keep whisking for 3 minutes until it becomes creamy. Add Parmesan, Gorgonzola (or whichever cheese you're using), mushroom mixture and spinach. Mix it all to combine, and serve immediately.

Wednesday, March 28, 2007

Garlic Broccoli

In exactly 30 days from today my friend, Kerry, will be getting married to Mr. Sean, and my hubby and I are going to their wedding in Boston. Kerry is actually one of the original members of our now-defunct cooking club, which we called Boston Bites. She is currently attending culinary school at Johnson & Wales University and I totally admire her for that. Hopefully one day I'll be able to go to culinary school, too.

Anyhoo, I bought a fabulous dress to wear to her wedding...unfortunately it's a size too small! So, in an effort to lose 10 pounds within the next month, I've been cutting down on pasta--which I absolutely love--and I'm making healthier versions of recipes. For example, this garlic broccoli dish is stupendous. I absolutely love garlic and I could probably eat this every day. I only use the most minimum amount of oil and butter, so if you're not on a diet, you can add a bit more if you prefer.

INGREDIENTS (serves 4, but you'll probably eat the entire thing yourself)

  • 1 bunch of fresh broccoli florets, about 12 ounces
  • 6 garlic cloves, chopped
  • 2 teaspoons olive oil
  • 1/2 tablespoon butter
  • 1/4 teaspoon salt
  • A pinch of black pepper
  • 2 tablespoons water
  • 1/4 teaspoon red pepper flakes (optional)
DIRECTIONS

Wash broccoli and cut into small florets (they also now sell bags of fresh broccoli florets already washed).

Place broccoli in a microwave safe bowl and add 2 tablespoons of water. Microwave for 2 minutes or until broccoli is barely tender and still bright green. Make sure you don't overcook it. Remove from microwave and drain and set aside.

Add olive oil and butter in a large skillet over low heat. Add the chopped garlic and sauté, stirring frequently, just until the garlic starts to soften and it begins to slightly turn golden. Raise the heat just a little and caramelize, NOT BURN, the garlic. It will turn into a golden light-brown color. Quickly remove the garlic with a slotted spoon and set aside, but leave the oil and butter in the skillet. **The oil will be slightly dark because the butter will be caramelized, too.

Add the steamed broccoli, black pepper, salt and red pepper flakes to the skillet and sauté for one minute. Lastly, add the caramelized garlic and sauté for 30 seconds until it's all heated through and combined.

Place the broccoli in a serving bowl and serve and enjoy.

Wednesday, February 21, 2007

Calabacitas con Queso

zucchini and summer squash
This dish is a family favorite. My mom and grandmother both used to make it for us and to this day their version is the best. I was craving calabacitas the other day but I did not have all the proper ingredients, but I came out with this version, which I have to say was very, very yummy. This is a great vegetarian dish as well, and it's the type of dish that tastes even better the next day.

INGREDIENTS (serves 2)

  • 1 tablespoon olive oil
  • 1 tablespoon butter
  • 1 medium onion, chopped
  • 1 garlic clove, minced
  • 1 zucchini, cleaned and diced into cubes
  • 1 summer (yellow) squash, cleaned and diced into cubes
  • 1 large tomato, chopped
  • 1/3 cup tomato-basil marinara pasta sauce (or your favorite marinara sauce)
  • Pinch of oregano
  • salt and pepper
  • 4 oz. basil-herb feta, crumbled or chopped into small cubes (you can also use mozzarella, or queso fresco)
DIRECTIONS

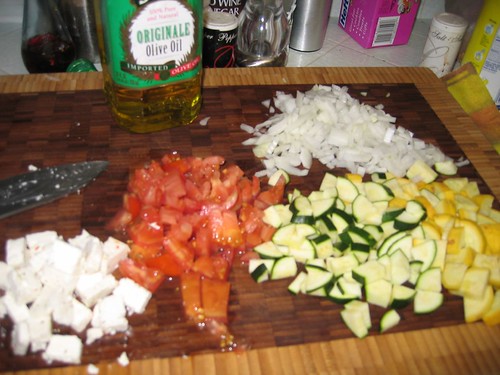
In a large sauté pan heat the olive oil and butter on medium heat. Add the chopped onions and sauté until translucent, about 2 minutes. Add the minced garlic and sauté until fragrant, about 30 seconds. Add the chopped zucchini, chopped summer squash and pinch of oregano to the pan. Toss with onions and garlic. Add a good pinch of salt and ground black pepper. Cover the pan and let it cook for about 5 to 8 minutes on low, or until zucchini and squash are almost tender.
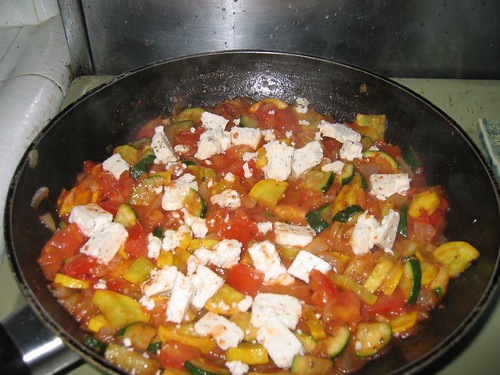
Remove the cover and add the chopped tomato and toss again and let it cook for 2 more minutes, covered. Add the tomato-basil sauce; bring to a simmer, and let it cook for 4 to 6 minutes, uncovered.

Lastly, add the crumbled feta on top and cover the pan once again. You just want the cheese to heat through and melt a little. Let the calabacitas simmer for just two more minutes then remove from heat and serve. This is a great side dish, but my favorite way to eat it is piled high on top of steamed, white rice!
Wednesday, November 22, 2006

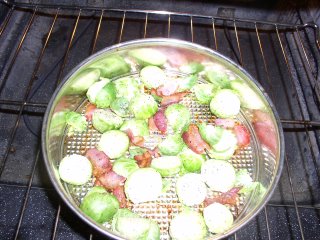
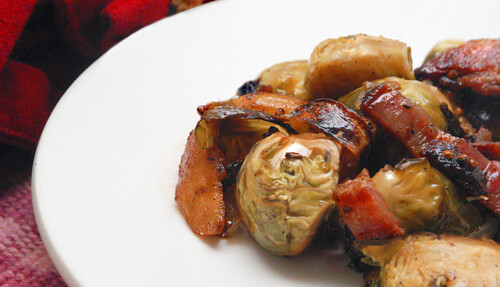
Oldie but goodie: Brussel Sprouts with Bacon and Apples

My husband and I were in Minnesota recently and, due to some miscommunication and probably a little too much to drink, we misplaced our awesome camera. So I don't have any pictures of some really good dishes we had. However, I am making my famous brussel sprout side dish for Thanksgiving. Here is the recipe again from my post back in November of 2005. Oh, and we found the camera, we just have to get it shipped to us now. Doh!

INGREDIENTS (serves 4)

  • 4 slices bacon, cut into 1/2-inch pieces
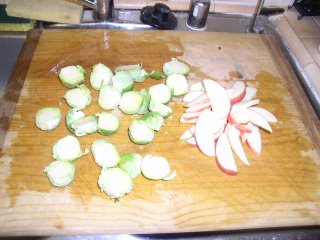
  • 1 pint (about 10) sprouts, ends trimmed and halved
  • Coarse salt and ground black pepper
  • 1 small apple, cored and cut into 1/4-inch slices, each slice halved crosswise
  • 1 teaspoon apple cider vinegar
  • A big pinch of brown sugar (optional)
  1. Preheat oven to 400°. Arrange bacon in a single layer on a large rimmed baking sheet. Bake until browned, 8 minutes. Add Brussels sprouts in a single layer; sprinkle with salt and pepper. Roast until they begin to brown, about 10 minutes.
  2. Remove from oven, and toss in apple and large pinch of brown sugar. Return to oven; roast until Brussels sprouts are browned and tender and apple has softened, about 8 to 10 more minutes.
  3. Toss vegetables with vinegar, additional salt, if necessary, and serve immediately.

Friday, October 27, 2006

Tomato Chutney

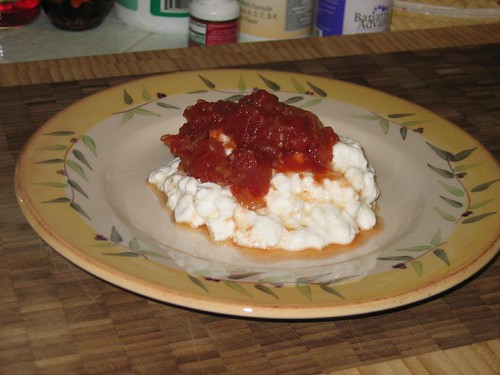
Slogar's Tomato Chutney The tomato season is almost over here in Southern California and an excellent way to keep that summer taste during the winter is to jar your tomatoes, or make this delightful tomato chutney. My sister-in-law gave me a jar of Slogar's famous tomato chutney from Crested Butte, Colorado and it was delicious. The malted vinegar gives it an extra kick. You can flavor up your chicken or even pork, with tomato chutney. However the way I was told to eat it was with cottage cheese. You can also make extra delicious bruschetta with this tomato chutney. Yummers!

INGREDIENTS (makes about 4 cups)

  • 1 Tablespoon vegetable oil
  • 4 lb ripe tomatoes clean and chopped
  • 1 cup Onions, chopped
  • 6 oz Sugar
  • 4 oz Malt Vinegar, divided
  • 1 Tablespoon kosher salt
  • 1 teaspoon Paprika
  • 1/8 teaspoon Cayenne Pepper

Place one tablespoon of vegetable oil into a heavy bottomed saucepan. Add the tomatoes and onions and cook gently on medium-low to release the tomato juices. Simmer for 20 - 30 minutes until tender.

Add the salt, paprika, cayenne and half of the vinegar. Simmer for another 45 minutes or until chutney begins to thicken.

Add the sugar and remaining vinegar, stirring until the sugar is fully dissolved. Continue simmering until the mixture becomes thick, stirring occasionally.

Once chutney is done, let it cool completely. Pour into warmed sterilized jars, cover and label. Leave for 3 - 5 weeks to allow the flavor to mature.

Wednesday, May 10, 2006

Herb Risotto

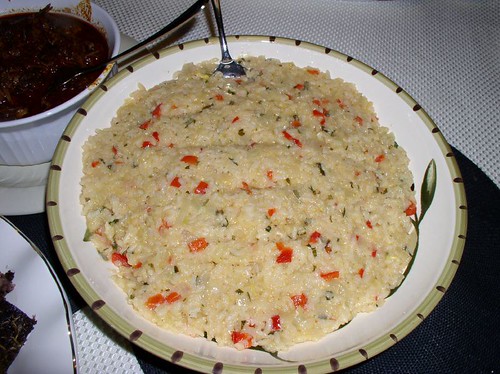
I made this risotto recipe for our Lamb Night semi-cooking club meeting last Saturday and I have to tell you, the risotto was fabulous. Yes, it requires a lot of ingredients and it will take you about an hour from start to finish, but it's well worth it. Don't omit any of the herbs because they give this risotto its wonderful taste.

INGREDIENTS (serves 8)

  • 3 tablespoons canola oil
  • 3 tablespoons butter
  • 1 cup trimmed, diced fennel bulb
  • 1 red bell pepper, diced
  • 1 yellow onion, diced
  • 3 cloves garlic, minced
  • 3 tablespoons chopped fresh mint, divided
  • 3 tablespoons chopped fresh parsley, divided
  • 2 tablespoons chopped fresh rosemary, divided
  • 2 teaspoons grated lemon zest, divided
  • 1/2 teaspoon ground coriander
  • 1 1/2 cups uncooked Arborio rice
  • 1/2 cup dry white wine
  • 3 1/2 cups chicken stock
  • salt and pepper to taste
  • 1 1/2 tablespoons fresh lemon juice
  • 1/3 cup grated Parmesan cheese
DIRECTIONS
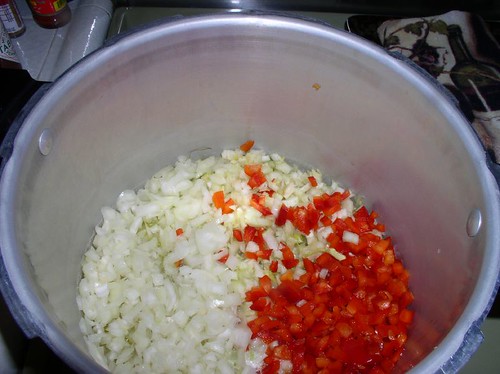
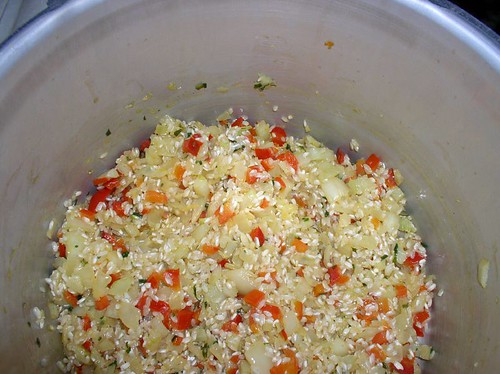
  1. Heat oil and butter in a medium heavy saucepan over medium heat. Add fennel, bell pepper, onion, garlic, 1 1/2 tablespoons mint, 1 1/2 tablespoons parsley, 1 tablespoon rosemary and 1 teaspoon lemon zest. Saute, stirring, until vegetables are slightly softened (about 2 to 3 minutes).
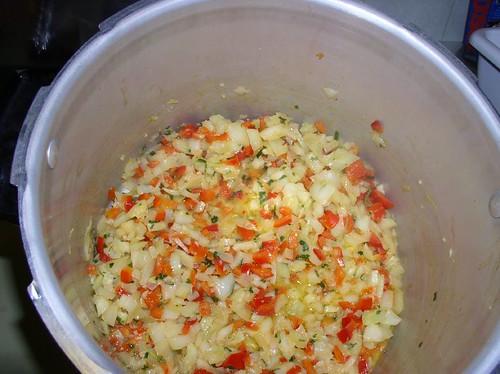
  2. Stir in coriander and rice and saute, stirring, until rice grains are oil-coated (about 3 minutes). Pour in wine and stock and reduce heat to medium low. Simmer uncovered for 25 to 30 minutes, or until liquid is almost absorbed and rice is tender but firm. (Note: Stir once or twice while simmering.)
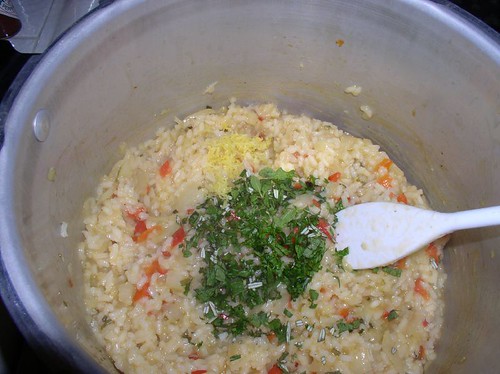
  3. Remove pan from heat and season with salt and pepper to taste. Stir in remaining mint, parsley, rosemary and lemon zest, then add lemon juice and cheese. Cover saucepan with waxed paper and let stand 8 to 10 minutes before serving.
Tuesday, April 18, 2006

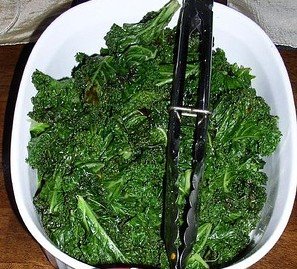
Sautéed Kale

Sauteed Kale
My sister-in-law, Lindsey, attended the Vine to Dine culinary education event at the Sutter Home winery in Napa Valley last week. There, she learned the following sautéed kale recipe. The recipe below is as close as we could get to the original--however it has been tested and it is fabulous! I have to admit that I was a bit skeptical to have kale because I always thought of it as a garnish, but after tasting Lindsey's version, I was hooked.

INGREDIENTS (4 servings)

  • 1 bunch of kale (about 1 pound)
  • 2 tablespoons olive oil
  • 1 clove garlic, finely chopped
  • 1/2 teaspoon red pepper flakes
  • 1/4 teaspoon salt
  • A few grinds of freshly ground pepper
  • 1 teaspoon fresh lemon juice (optional)
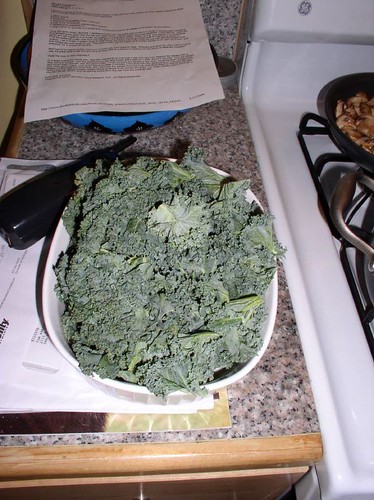
Rinse kale well in a large bowl of cold water. Drain and cut off the tough stems. Cut leaves into 1/4-inch strips. There will be 3 to 4 tightly packed cups.
Feshly rinsed Kale

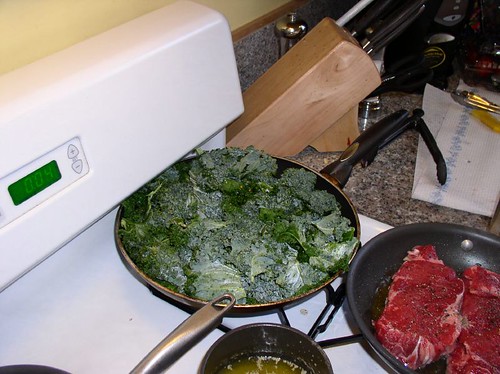
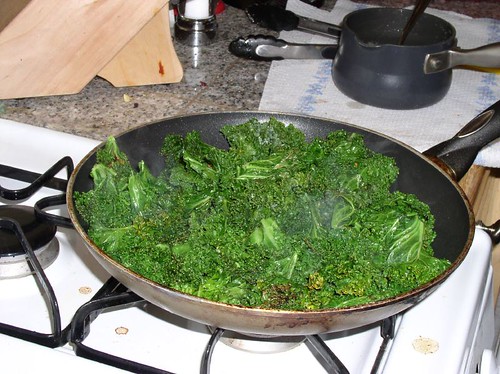
In a large frying pan, heat the olive oil over moderately high heat. Add the red pepper flakes and cook, stirring frequently for about 20 seconds. Then add the garlic and cook, stirring, 30 seconds. Add the greens and cook stirring, for about 1 minute, until the kale begins to wilt and it gets coated with the oil, pepper and garlic.

sauteeing the kale Sauté the greens, stirring constantly, for 8 to 10 minutes, until the greens darken slightly and are fairly tender. Season with the salt, pepper, and lemon juice and serve immediately.the finished product
Thursday, March 23, 2006

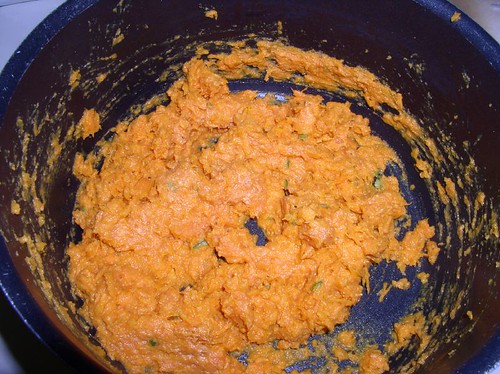
Mashed Spicy Sweet Potatoes

The original recipe has one ripe mashed banana in it, however since my husband has an unusual fear of bananas, I ommited it from the recipe. It still tasted great!

INGREDIENTS (4 servings)

  • 2 large sweet potatoes, peeled and cut into quarters
  • 1 serrano pepper, seeded and finely diced
  • The juice of one orange
  • 2 Tbsp. honey
  • 1 Tbsp. butter, unsalted
  • 1/4 tsp. kosher salt
  • Ground black pepper
Add the potatoes to a large pot of lightly salted water and bring to a boil. Simmer for about 15 minutes or until potatoes are tender. When done, drain the potatoes and put them back in the same pot.

To the sweet potatoes add the diced serrano pepper, the juice of one orange, honey and one tablespoon butter. Mash with a potato masher. Season with salt and pepper and serve while still warm.
Friday, March 17, 2006

Irish Blue Cheese Potato Cakes

Cashel Blue was developed in 1984 and it is Ireland’s original artisinal blue cheese. Ireland's Beechmount Farm in the town of Tipperary makes this superb blue cheese. Cashel Blue is a young, somewhat mild and extra creamy cheese that, unlike inferior blues, is not too salty. It is a fabulous alternative to Gorgonzola or Stilton. These potato cakes are nouveau Irish cuisine and the recipe is from The New Irish Table: 75 Contemporary Recipes by Margaret M. Johnson.

INGREDIENTS (12 servings)

  • 1-1/2 to 1-3/4 pounds baking potatoes, peeled and cut into 2-inch pieces
  • 2 tablespoons unsalted butter
  • 2 tablespoons minced fresh chives
  • 1 tablespoon minced garlic
  • 1/4 teaspoon ground nutmeg
  • Salt and freshly ground black pepper to taste
  • 2 tablespoons minced fresh dill
  • 2 tablespoons minced fresh flat-leaf parsley
  • 1 cup Cashel Blue cheese, or other blue cheese, crumbled
  • 1 egg yolk
  • 1 cup all-purpose flour, for dredging
  • 2 eggs beaten with 1/2 cup 2-percent milk, for dredging
  • 1 to 1-1/2 cups seasoned bread crumbs, for dredging
  • 1 to 1-1/2 cups canola oil
  • Sour cream or crème fraiche for topping, optional
DIRECTIONS

Cook the potatoes in boiling salted water for 12 to 15 minutes or until they are tender. Drain and mash the potatoes. Set aside.

In a small skillet, melt the butter over low heat. Sauté the chives and garlic for 1 to 2 minutes or until soft. Stir into the mashed potatoes. Then stir in the nutmeg, salt, pepper, dill and parsley. Remove from the heat and cool completely.

Stir in the blue cheese and egg yolk. The cheese should remain in lumps scattered through the potatoes.

Preheat the oven to 250 degrees F. Shape the potato mixture into 12 cakes and refrigerate for 20 minutes to firm it.

Lightly dredge each cake in the flour, then coat it with the egg-milk mixture and dredge it in the bread crumbs.

In a large skillet, heat the oil over medium-high heat. Working in batches, add the cakes to the hot oil and cook for 3 to 5 minutes on each side, or until browned. The cakes can be prepared ahead up to this point.

To serve, place the cakes on a baking sheet and reheat them in the oven for about 5 minutes. Serve with a dollop of sour cream or crème fraiche.