Thursday, August 26, 2010

Oldie but Goodie: Perogies

Perogies with Potato-Cheese filling
On Christmas night of 2006, my husband, my brother-in-law, Michael (along with Max and Lola), and myself had a barbecue--yes, a BBQ! It was very surreal for Matthew and Michael since they are used to a Minnesotan white Christmas, but for me, well, it's just typical. We grilled up steaks, and I made rosemary-garlicky mashed potatoes.

One thing I learned from my father-in-law, Jim, is to always cook extra potatoes and stash away a few unseasoned mashed potatoes for another use. This way, I can make lefse, gnocchi or even perogies the next day.

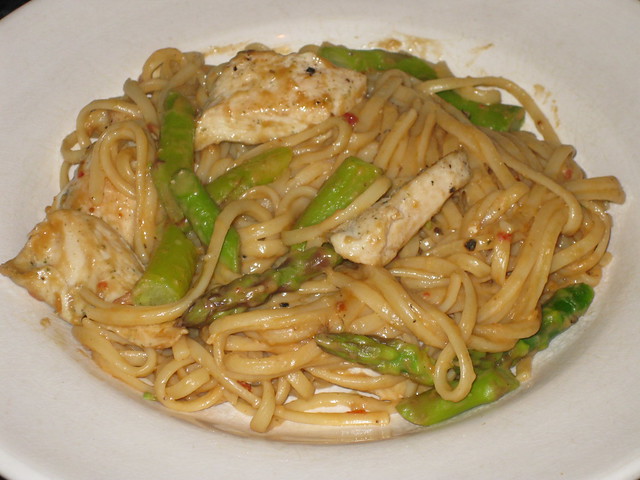
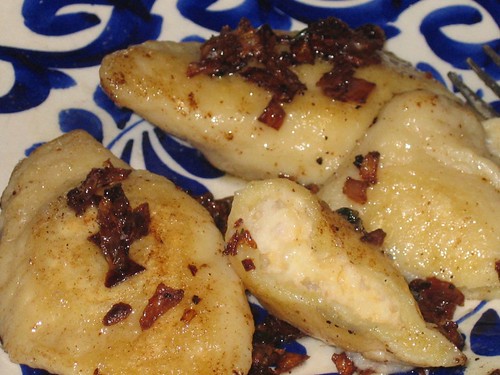
For me, perogies remind me of Boston because when I lived there with my now Russian ex-boyfriend, his mom used to make them for us all the time. Thank goodness that relationship went kaput, but at least I learned how to make these billowy potato dumplings. If you don't want to use a potato-cheese filling, you can also make a meat filling, like cooked ground beef with onions and olives, or even a sweet filling like ricotta with orange marmalade...believe me, the possibilities are endless.


INGREDIENTS

Potato and Cheese Filling (makes 3 cups)
  • 1 tablespoon grated onions (I used red onions)
  • 2 cups cold mashed potatoes
  • 1/2 cup cottage cheese (or ricotta cheese)
  • 1/2 cup grated mild or sharp cheddar cheese (you can also use Colby)
  • 1/2 teaspoon salt, or to taste
  • 1/4 teaspoon ground black pepper (use white pepper, if you have it)
  • OPTIONAL: I added fresh thyme to my filling, but you don't have to
DIRECTIONS
In a large bowl add grated onions, mashed potatoes, cottage cheese and grated cheddar cheese and mix well to combine. Taste filling for seasoning, and add salt and pepper, to taste. You can always vary the proportions and ingredients in this recipe to suit your taste. Note: The filling should be thick enough to hold its shape.

Now start forming tablespoon-sized balls with the filling and set filling aside.

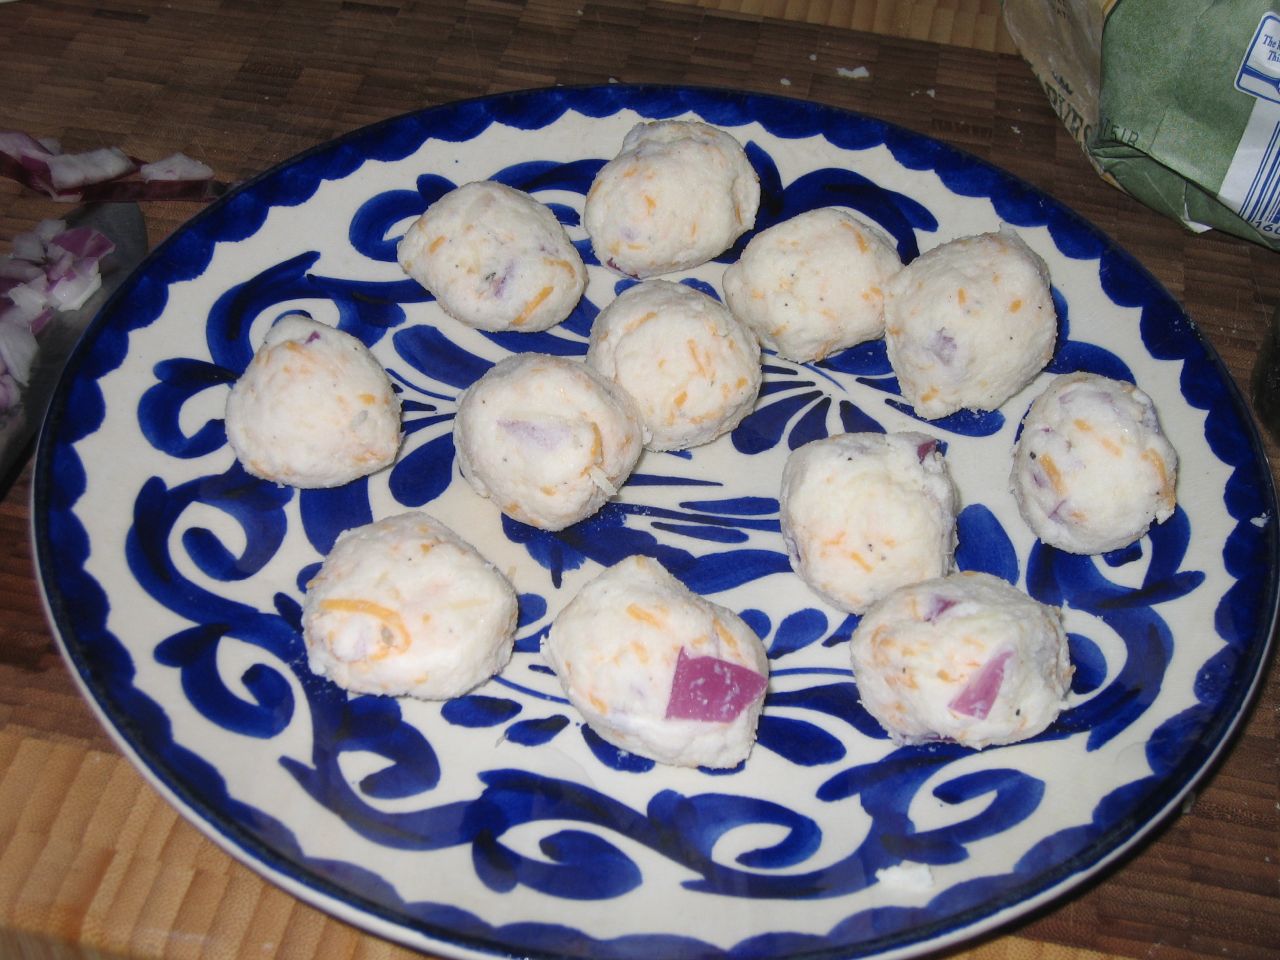
INGREDIENTS Perogie (makes 12 to 18, depending on how thick you roll them out)
  • 2 1/2 cups flour
  • 1/2 teaspoon salt
  • 1 egg
  • 2 teaspoons oil
  • 1/4 cup sour cream
  • 2/3 to 3/4 cup warm water (depending on weather and humidity)
DIRECTIONS
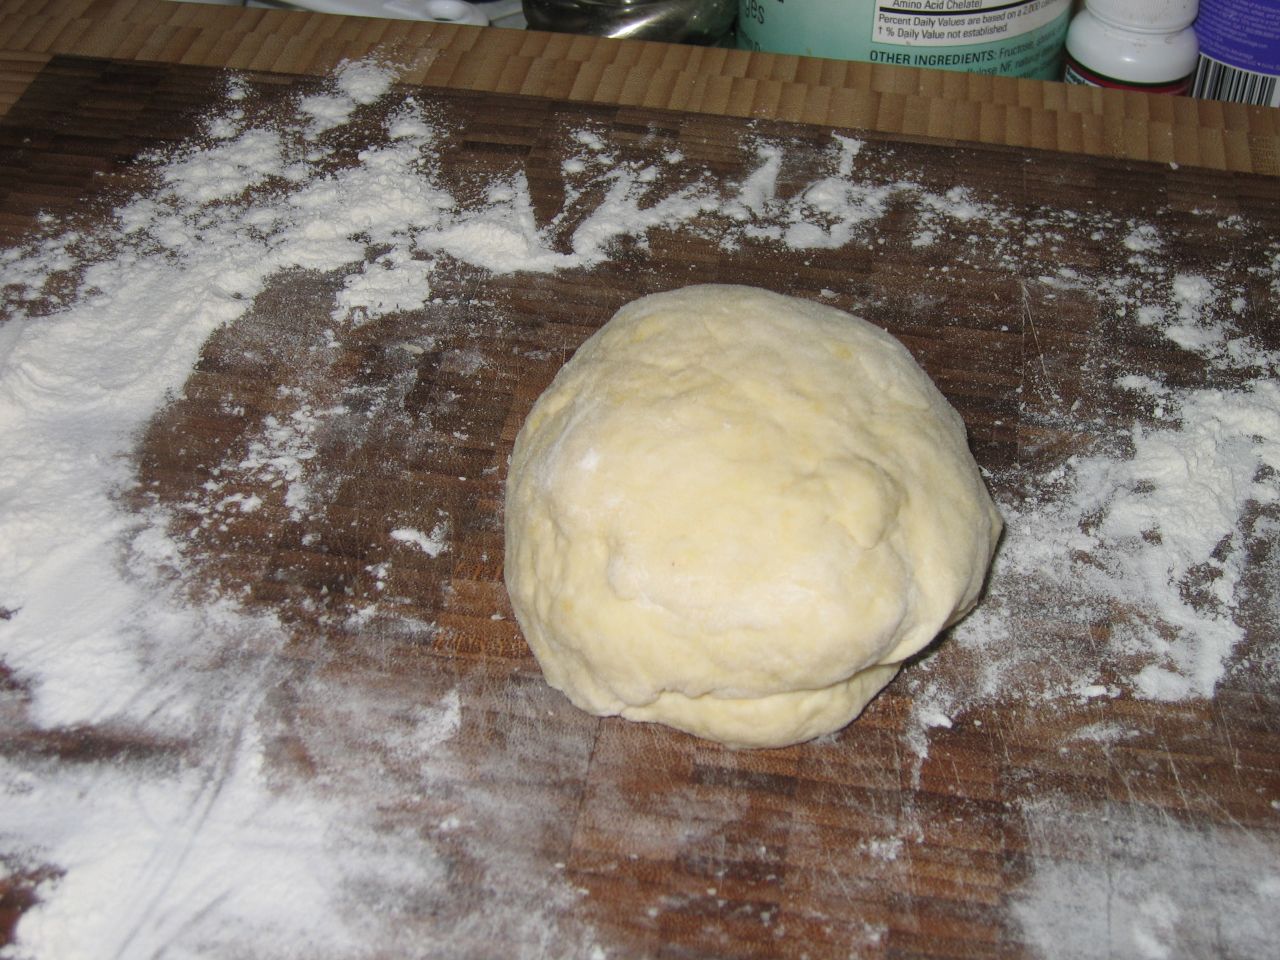
In a stand mixer or a large bowl, add the flour and salt and mix to combine. Add the egg, oil, sour cream and warm water and mix. Add enough water to form medium-soft dough. Knead the dough on a floured board until smooth. Do not over knead. Divide the dough into 2 parts and cover and let stand for 10 minutes.

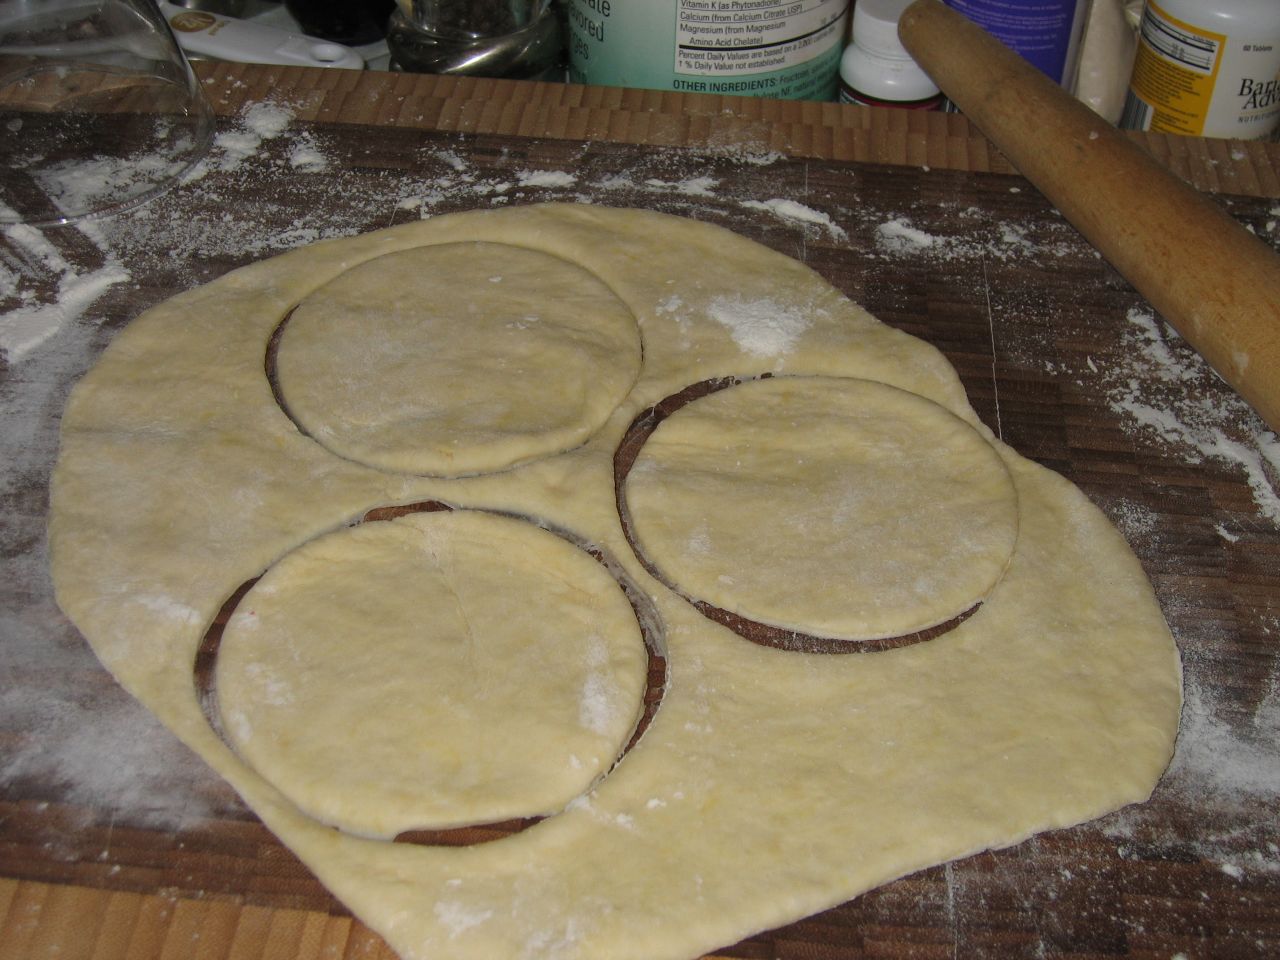
Now, roll out the dough about 1/8" thick (or thicker, deepening on how you like them) and cut out rounds with a large biscuit cutter or with the open end of a glass. Cut out about 4 rounds at a
time. Place the round on the palm of your hand then place one ball of filling into each round and
fold over to form a half circle. Press the edges together with fingers. You can crimp the edges, if you prefer, but make sure that the edges are sealed well to prevent the filling from running out.
Keep on making the perogies, and set them aside on a floured board or plate and cover with a tea towel or parchment paper to prevent from drying out.
TO COOK: Gently drop about 3 to 4 perogies into the rapidly boiling water and cook for 4 to 6 minutes, depending on thickness of dough. Do not cook more than 4 perogies at a time. Stir very gently with a wooden spoon to separate them and to prevent them from sticking to the bottom of the pot. Perogies are done when they puff up and float to the top. Removed cooked perogies with a perforated spoon or skimmer to a colander and drain thoroughly.
Place them in a deep dish and add butter to prevent them from sticking. Serve pergoies immediately and top with more melted butter or chopped, crisp bacon, or with chopped onions lightly browned in butter. NOTE: You can quickly pan-fry the perogies after you've boiled them in even more butter (which is what I did) and top them with cooked onions in butter. Talk about heart-attack!
If you don't plan cooking all perogies, simply place uncooked perogies on a floured cookie sheet. Make sure they are not touching each other, and freeze them. Once they have frozen solid, place them in a plastic baggie and keep frozen. TO REHEAT: Boil them in salted water for 7 to 10 minutes.

Sunday, August 15, 2010

Sesame Noodle with Chicken and Asparagus


Today was a really long day for Stella and me. We got up at 6:30am, did our daily mama/baby routine and at 2pm we were at the mall for Stella's first professionally done photo shoot. Amazingly, it all went so well, but almost 3 hours later, she had not napped, I only had a hot dog-on-a-stick in my tummy and we were both tired and hungry when we got home.

She got her formula, of course, and went to bed. I, on the other hand, did not have the chance to go grocery shopping so all I had in the fridge were asparagus and some chicken tenders I had defrosted the night before. Luckily, I received a "free trial" of Cook's Country magazine and found this super easy, super fast, super yummy recipe. It's just the meal you want when you're tired and hungry because it's filling, it's nutritious, it's a little spicy and it's got a great peanut-sesame taste. 

INGREDIENTS (serves 4)
  • 2 boneless, skinless chicken breasts (about 12 ounces) cut crosswise into 1/4-inch pieces
  • Salt and pepper, to taste
  • 1 Tablespoon vegetable oil
  • 1 pound linguine (or fettuccine or spaghetti)
  • 1 pound asparagus, trimmed and cut into 1/2-inch pieces
  • 1/3 cup peanut butter
  • 5 Tablespoon rice wine vinegar
  • 1/4 cup oyster sauce
  • 2 teaspoons chili-garlic sauce
  • 1-1/2 teaspoon grated fresh ginger
  • 1-1/2 Tablespoon toasted sesame oil
DIRECTIONS 

Bring a large pot with water to a boil. Pat chicken dry with paper towels and season with salt and pepper. Heat the vegetable oil in a large skillet over medium-high heat until just smoking. Cook the chicken until it's not longer pink inside, about 2 to 3 minutes per side. Transfer to a plate.

Add a large pinch of salt to the boiling water then add pasta and cook until just beginning to soften, about 8 minutes. Add the asparagus to the pot and cook until bright green and the pasta is al dente, about 4 minutes more. Reserve one cup of pasta water. Drain pasta and asparagus and return to the pot.

In a medium bowl, whisk peanut butter, vinegar, oyster sauce, chili-garlic sauce, ginger, sesame seed oil and 1/2 cup of the reserved pasta water until smooth.

Add the cooked chicken to the pot with the pasta and asparagus, then add the peanut butter mixture and toss to combine.

Add more of the reserved pasta water, if needed. Serve immediately!

Thursday, August 12, 2010

Khinkali Dumplings


My version of khinkali.
They don't look like they are supposed to, but they tasted SO GOOD!
The two in the background were already eaten by me!


If there is one dumpling I truly love (and miss) are the Suan La Chow Chow dumplings from Mary Changs in Cambridge, MA. They were these perfectly cooked and delicious pork dumplings laying on a bed of bean sprouts with a spicy, soy-sauce based sauce at the bottom. So it's been a while since I've found any new or out-of-the ordinary dumplings that grabbed my attention.

Then Matt told me about khinkali dumplings and he said they were the best dumplings he'd ever had. You had to eat them so as to sop up all the juice trapped inside. I was intrigued! I did some research online and all the khinkali recipes I found varied from the filling, to measurements for the dough, to its origins. But one thing is for sure, you HAVE to make the pleats or at least form a point at the top of the dumpling. That way you can grab it, turn it to its side and suck it up.

According to Matt, you don't eat the top, or the pleated part, of the the dough. Only the poor people eat that. And you are not supposed to let any of the meat juices trapped inside the dumpling hit your plate. Lastly, all you need to top your khinkali with is lots of black pepper!  So I gave the dough two different tries. Both failed! But the meat filling was DIVINE! And the juice it forms inside the dumpling is simply sopilicious.

Here's my recipe, but you can find many more online here, here and here.

INGREDIENTS
  • 1/2 lb. ground beef (a little on the fattier side)
  • 1/2 lb. ground pork
  • 1/2 tsp. kosher salt (if  you use water instead of beef broth, add an additional 1/2 tsp. kosher salt)
  • About 1/4 of a red onion, processed in the food processor (you have to do it in the processor or blender because you need the onion juice!)
  • 1/2 tsp. ground caraway seed
  • 1/2 tsp. ground black pepper
  • a good pinch of red pepper flakes
  • 3/4 cup beef broth or water
Dough
  • 4 cups of flour
  • 1 1/2 cups of warm water
  • 1/2 teaspoon of salt
DIRECTIONS

Filling: Mix the ground meats and onions together. Stir in the spices into the meat mixture, add broth, salt and mix it thoroughly. Set aside in the fridge.

Dough: Pour the flour into a large bowl, sprinkle it with salt, add water and make the dough. Knead for about 5 minutes. Form into a ball and let the dough rest 30 minutes.

Start boiling water in a large pot.

Take a mango sized piece of dough and roll it out on a floured surface to about 1/3 of an inch thick. Cut out circles about 3 inches in diameter with a drinking glass. Roll each round out to about 6 inches in diameter on a floured surface. Cup the round with your hand (or place in a small coffee cup to assist) and place a heaping teaspoon of filling in the center of each round.


Fold the edges of the dough, forming as many pleats as possible and making sure it's sealed tight. Roll the nubbin of the dumpling between your finger and thumb and pinch off extra dough.
pretty bad at forming the pleats

Boil the khinkali in salted boiling water for 6 to 10 minutes. When they float to the top it usally means they are done. Serve hot sprinkled with freshly ground black pepper.
This is what authentic khinkali look like, btw!


You can see the meat juice trapped inside!! YUM!!