
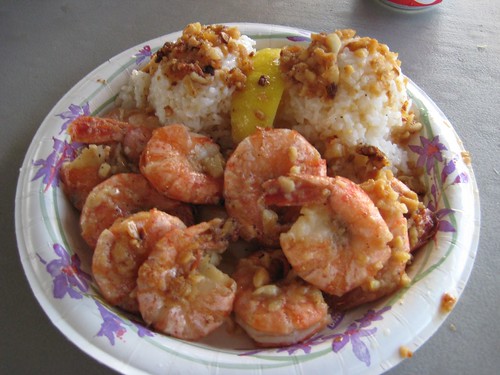
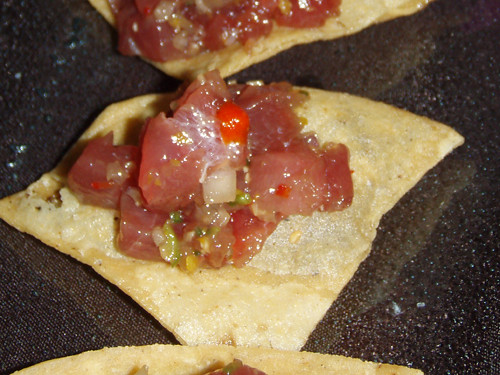
I am flying to Oahu, Hawaii, again this Wednesday to visit my sister and to help her move back to San Diego. If you've never been to Oahu, it really is a beautiful island to visit, but what I love the most about the island is the food. Yes, most of the food is expensive there, but if you can afford it, you gotta try the shrimp from the
shrimp trucks in the North Shore, some authentic Ahi poke, or Kalua pig, and of course, Spam musubi. Why Spam? Well, back in WWII meat was scarce in the islands, so civilians loaded up on this canned meat. Before long, it became a Hawaiian staple and now almost every household has one or two cans of Spam in their pantry!
Anyhoo, here's a recipe for Spam Musubi. You will need a musubi rice press, but you can also use the Spam can to make the musubi. I bet that this would be an interesting party appetizer at any party in Minnesota, eh?
INGREDIENTS (makes 32 musubi)
- 3 cups uncooked short- or medium-grain rice
- 4 cups water
- 5 sheets of sushi nori (seaweed in big squares)
- 1 (12-ounce) can Spam luncheon meat (you can also use Spam Lite)
- 1/4 cup soy sauce
- 1/4 cup sugar
- 1/4 cup rice wine (mirin)
- Water
DIRECTIONS
Wash rice, stirring with your hand, until water runs clear. Place rice in a saucepan with water; soak 30 minutes. Drain rice in colander and transfer to a heavy pot or rice cooker; add 4 cups water. If you don't have a rice cooker, place rice and water into a large heavy saucepan over medium-high heat; bring just to a boil, reduce heat to low and simmer, covered, for 15 minutes. Turn off heat and leave pan, covered, for 15 additional minutes.
Cut nori in half widthwise. Place cut nori in a resealable plastic bag to keep from exposing the nori to air (exposing the nori to air will make it tough and hard to eat).

Cut Spam into 8 rectangular slices approximately 1/4-inch thick. In a large ungreased frying pan over medium heat (Spam has plenty of grease to keep it from sticking), fry slices until brown and slightly crispy. remove from heat, drain on paper towels, and set aside.

In a small saucepan over high heat, add soy sauce, sugar, and rice wine; bring just to a boil, then remove from heat. Add fried Spam slices to soy sauce mixture, turning them to coat with the sauce; let spam slices sit in marinade until ready to use.
In a small bowl, add some water to use as a sealer for the ends of the nori wrapper; set aside.
 Using a Spam Musubi press, place a piece of nori on a plate. Position press on top of the nori so the length of the press is in the middle of the nori (widthwise). The press and the width of the nori should fit exactly the length of a slice of Spam. (Note: If you don't have a musubi maker, you can use the empty Spam can by opening both sides, creating a musubi mold.)
Spread approximately 1/4 cup cooked rice across the bottom of the musubi maker, on top of the nori; press rice down with flat part of the press to compact the rice until it is 1/4-inch thick (add more rice if necessary). Place a slice of Spam on top of the rice (it should cover most of the length of the musubi maker). Cover with an additional 1/4 cup cooked rice; press until 1/4-inch thick. remove the musubi from the press by pushing the whole stack down (with the flat part of the press) while lifting off the press. Fold one end of nori over the musubi and press lightly onto the rice. Wet the remaining end slightly with water, then wrap over musubi and other piece of nori; press down on the other end. cut log into 4 pieces. Repeat with the other 7 Spam slices, making sure to rinse off musubi maker after each use to prevent if from getting too sticky.

Cut each musubi in quarters. Do not refrigerate musubi, as they will get dry and rubbery. Serve immediately.


 Broil for 8 minutes, then turn veggies over and broil another 5 minutes, or until lightly charred. Remove and set aside until cool enough to handle.
 Add the couscous, all the vegetables, and the green onion. Gently mix well and chill 4 hours or overnight. Just before serving, stir in the feta cheese.

 Remove lamb onto another plate. Add the carrots, celery, onion, 2 whole garlic cloves, red wine, chicken stock, and bay leaves.
  Simmer for 30 seconds and turn off heat. Place the lamb back on top of veggies and add the tomato juice.
  Cover the top of the pan with plastic wrap or with parchment paper, then with aluminum foil (don't let the foil touch tomato juice).


 Dip 4 tortillas into the remaining sauce and lay them into the bottom of the dish. Cut 1 of the tortillas in half to evenly cover the bottom of the dish.


 Serve slices of enchilada lasagna with a little crème fraîche and a sprinkling of cilantro and slices of avocado on the side.


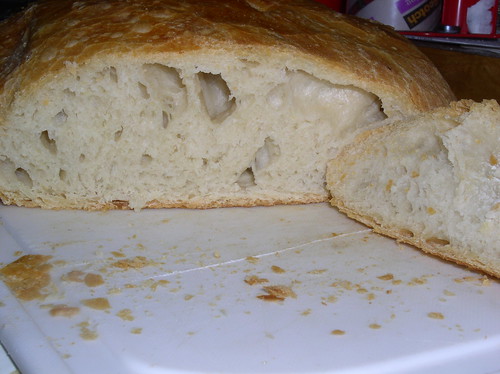
 Remove and let cool on wired rack. If not eating right away, you can re-crisp crust in 350F oven for 10 minutes.


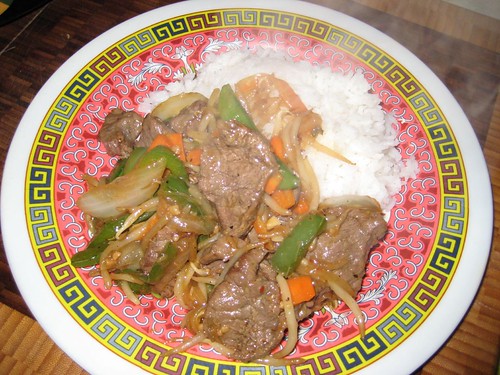

 In a large skillet with 3" sides or higher, or a wok, heat 1 tablespoon Vegetable or canola oil over medium-high heat. Add the marinated beef and the marinade and stir fry for 2 minutes. Quickly remove beef from skillet with a slotted spoon and set aside.
 Add the beef and its juices back into the skillet and stir fry 3 minutes or until lightly browned.


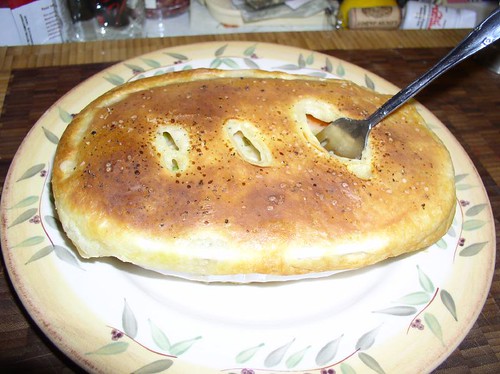
 Add the hot chicken stock to the sauce. Simmer over low heat for 1 more minute, stirring, until thick. Add 1/2 teaspoon salt, 1/2 teaspoon pepper, and heavy cream. Add the cubed chicken, the frozen stew vegetables and and parsley. Mix well. Remove from heat.

 Place on a baking sheet and bake for 35 - 45 minutes, or until the top is golden brown and the filling is bubbling hot.
