
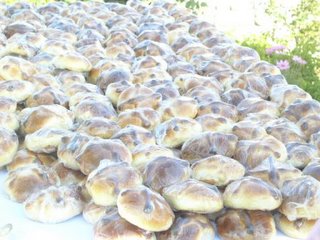
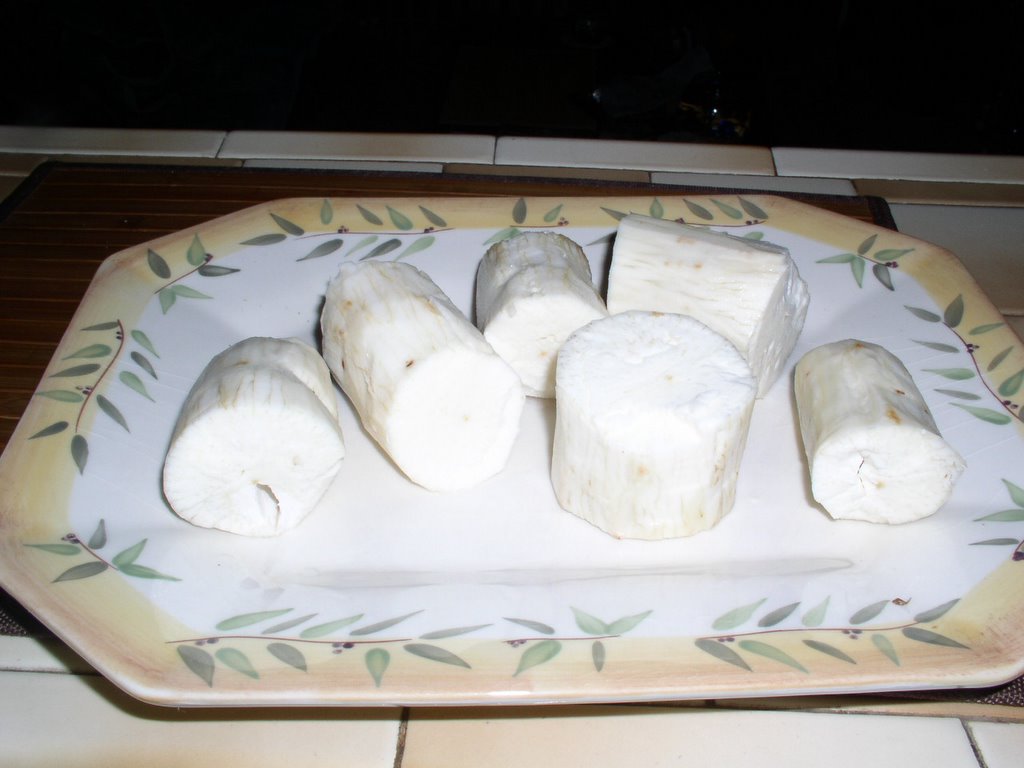
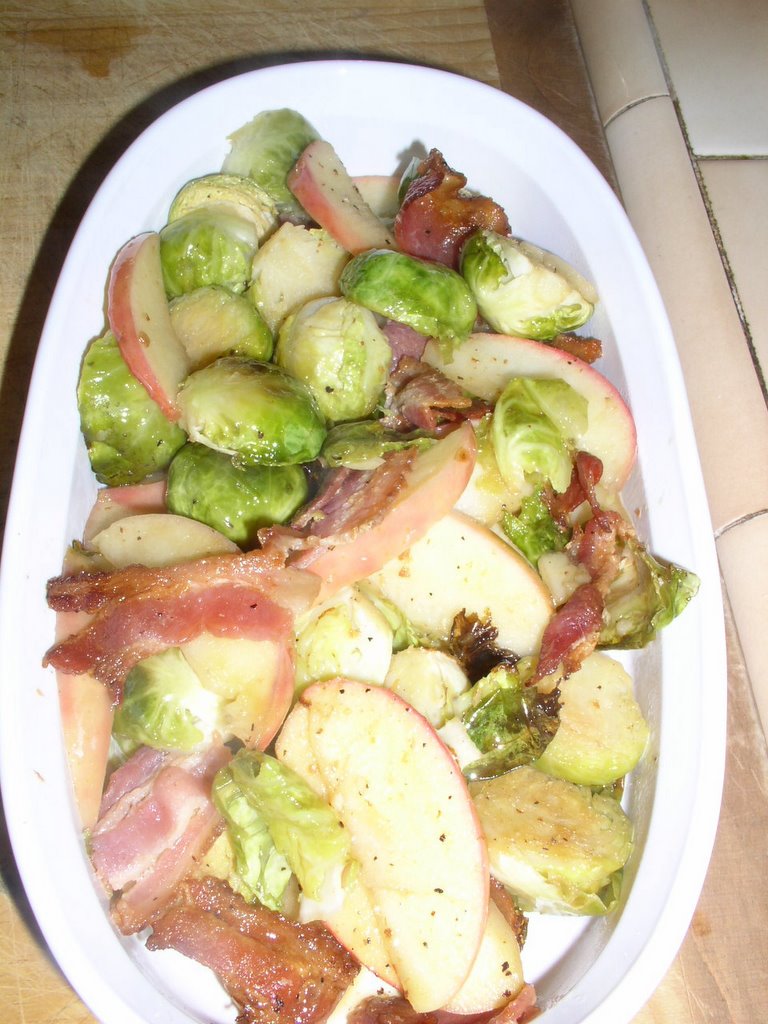
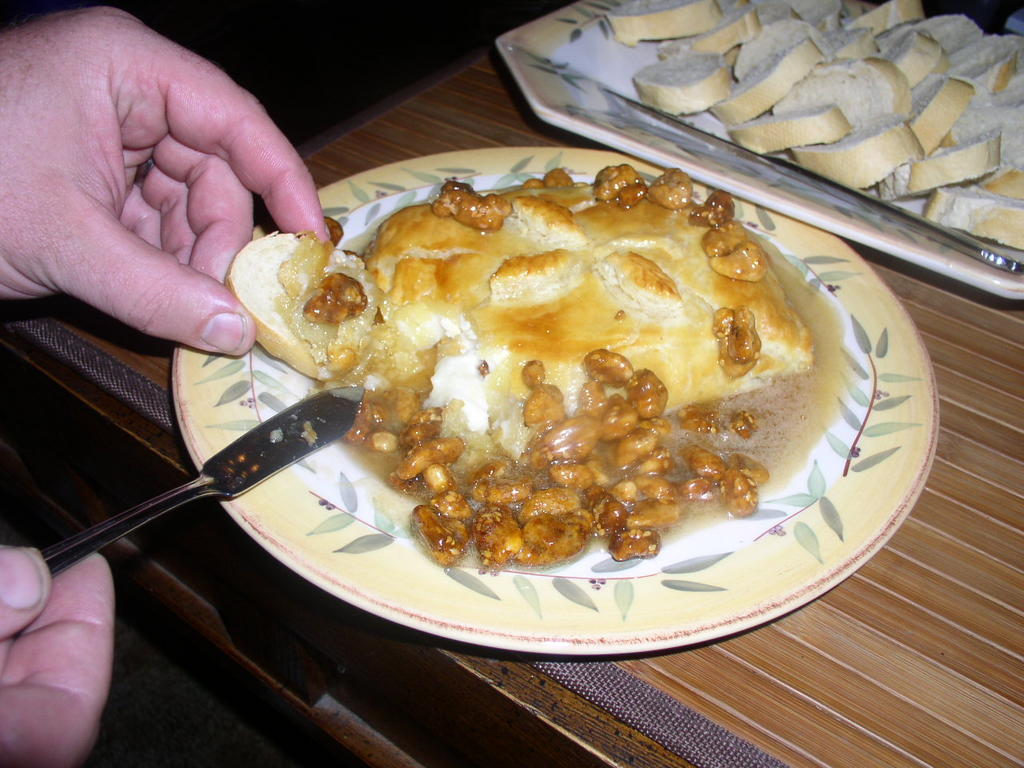
In Mexico we celebrate Día de los Muertos, or the Day of the Dead, from October 31st to November 2nd. It is Mexico's festive annual celebration of life—and death. The modern celebration, now an official Catholic holiday, owes its roots to the Aztecs, who devoted two full months of the year to honor the dead and assist departed souls to their final destination. Pan de Muertos, or Bread of the Dead, is a round piece of bread with a cross designed on the top of it. The more traditional bread has bones designed on to of it and sometimes bakers shape these breads into flowers or animals. Pan de muertos is made out of flour, salt, fresh leavening, sugar,  butter or lard, eggs, milk and anise seed. The breads are placed on shrines and altars as offerings for the deceased and are given to visitors arriving for the celebration. The breads are very soft and buttery and are a cross between Hawaiian rolls and croissants. They are not too sweet at all and I specially like to eat them with a hot cup of coffee or hot chocolate. Unfortunately, I did not make the recipe because I did not have enough time, but we attended a mass where they gave out the breads (made into individual loaves). NOTE: This recipe calls for orange flower water, which is available in many large supermarkets and specialty food stores. It gives a subtle orange flavor. One teaspoon of finely grated orange zest can be substituted, but the bread will have a bolder taste.
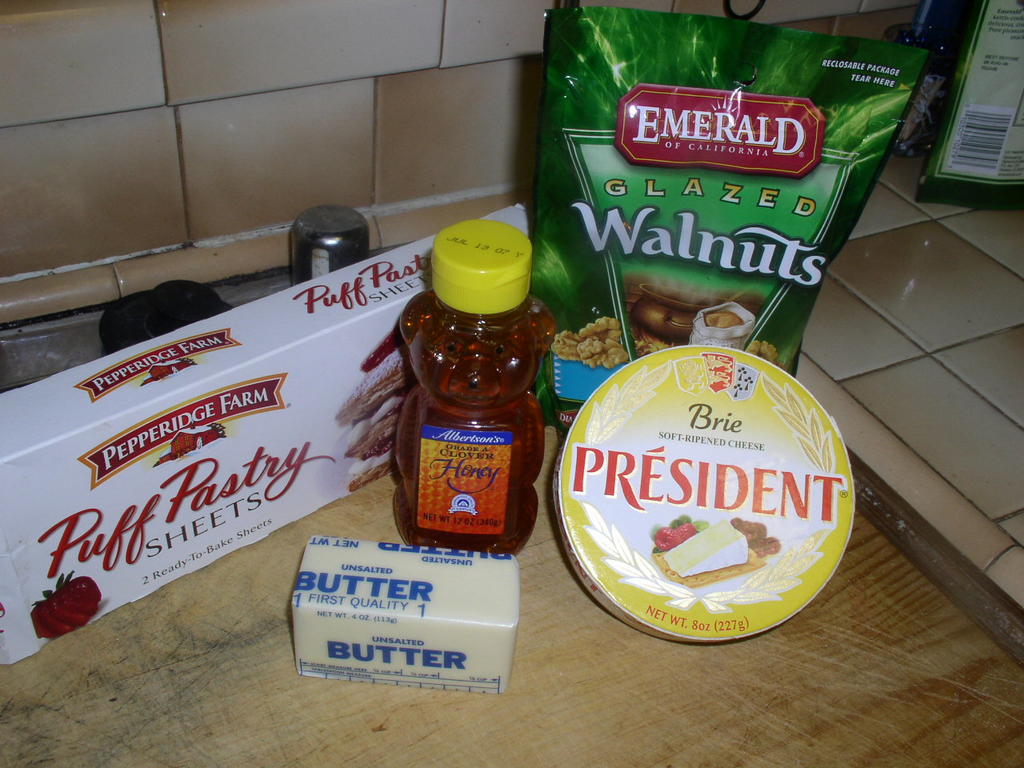
INGREDIENTS
Dough:
• 1 scant tablespoon or 1 (1/4-ounce) package active dry yeast
• 1/4 cup warm water (about 110°F)
• 1/2 cup milk
• 3 large eggs, beaten
• 1/4 cup (1/2 stick) unsalted butter, softened
• 2 teaspoons orange flower water
• 1 teaspoon salt
• 1 teaspoon anise seeds
• 1/4 cup granulated sugar
• 4 to 4 1/2 cups unbleached all purpose flour
Topping:
• 1 large egg
• 1 tablespoon granulated sugar
In the mixer bowl, sprinkle the yeast in the water to soften. Heat the milk to 110°F and add it to the yeast along with the eggs, butter. Orange flower water, salt, anise seeds, sugar, and 2 cups of the flour. Using the mixer paddle beat on medium-low speed for 2 minutes. Gradually add the remaining flour 1/4 cup at a time until the dough begins to pull away from the side of the bowl. Change to the dough hook. Continue to add flour 1 tablespoon at a time until the dough just begins to clean the bowl. Knead 4 to 5 minutes on medium-low.
First Rise: Put the dough in an oiled bowl and turn to coat the entire ball of dough with oil. Cover with a tightly woven towel and let rise until doubled, about one hour.
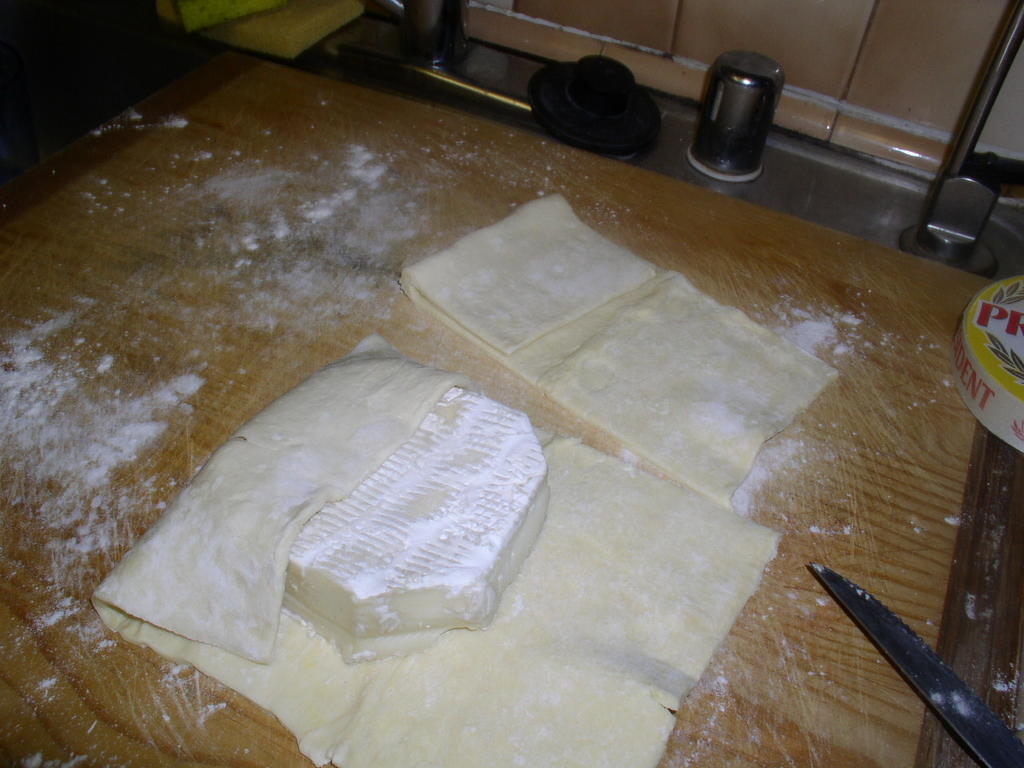
Shape: Turn the dough out onto a lightly oiled work surface. Remove a tennis-ball-sized portion of dough and set aside. Shape the larger piece of dough into a smooth ball and place on a parchment-lined or well-seasoned baking sheet. Flatten the dough into a 1-inch-thick disk. Divide the remaining dough in half and roll each piece into an 8-inch rope. Lay the ropes on top of the loaf parallel to each other about 3 inches apart. With scissors or a knife, cut into the end of each rope about 3/4 inch and spread the ends apart slightly to resemble bones.
Second Rise: Cover with a tightly woven towel and let rise for 45 minutes.
Preheat Oven: About 10 minutes before baking, preheat the oven to 375°F.
Prepare topping: Beat the egg and sugar until the sugar dissolves, and then brush the mixture on the top and sides of the bread.
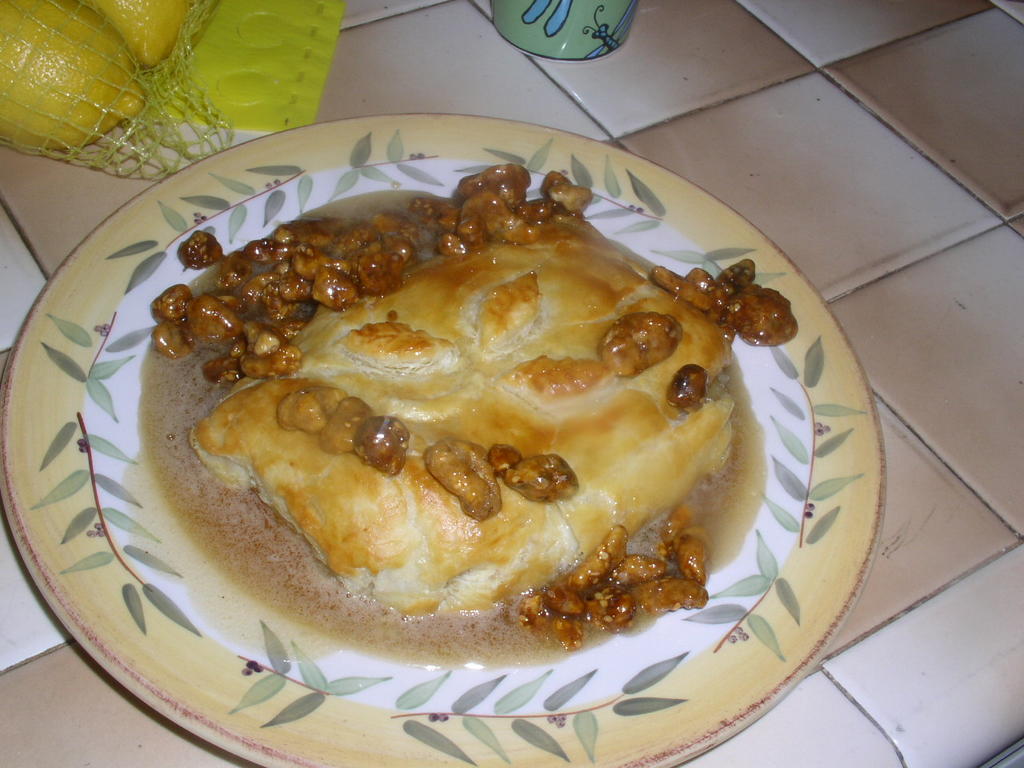
Bake and Cool: Bake for 30 minutes until the internal temperature of the bread reaches 190°F. Immediately remove the bread from the baking sheet and place on a rack to cool.
NOTE: This bread freezes nicely for up to 6 months. To serve, first thaw the bread, then reheat on a baking sheet or directly on the oven rack in a 375°F oven for 7 to 10 minutes.
Recipe courtesy of Catholic Culture.com
 Hello, my name is Princess Diaz and I'm a short haired Chihuahua. I live in Southern California and I own over 20 bones. I am 11 years old and I'm still feisty as ever. My surrogate mommy (the cooking diva herself, Armida) has been extremely busy at work and hasn't been able to try any new recipes to post on her blog, so she asked me to write on her food blog for today.
 spaghetti. So the entire spaghetti and meatball dinner scene in the movie Lady and the Tramp is all true! I think that movie was based on a true story.
 two strips and that satisfies me for the day. I also really like doggie treats from Trader Joe's. Of course, if I had my way, I would eat chicken every day. One thing you must keep in mind when feeding dogs is that a 28 to 30% protein to 12% fat ratio is optimal. That's why I stay in shape, although in the winter time I do tend to put on a pound or two.
 Halloween picture (I am dressed as Princess Leah from Star Wars) and some words of wisdom:
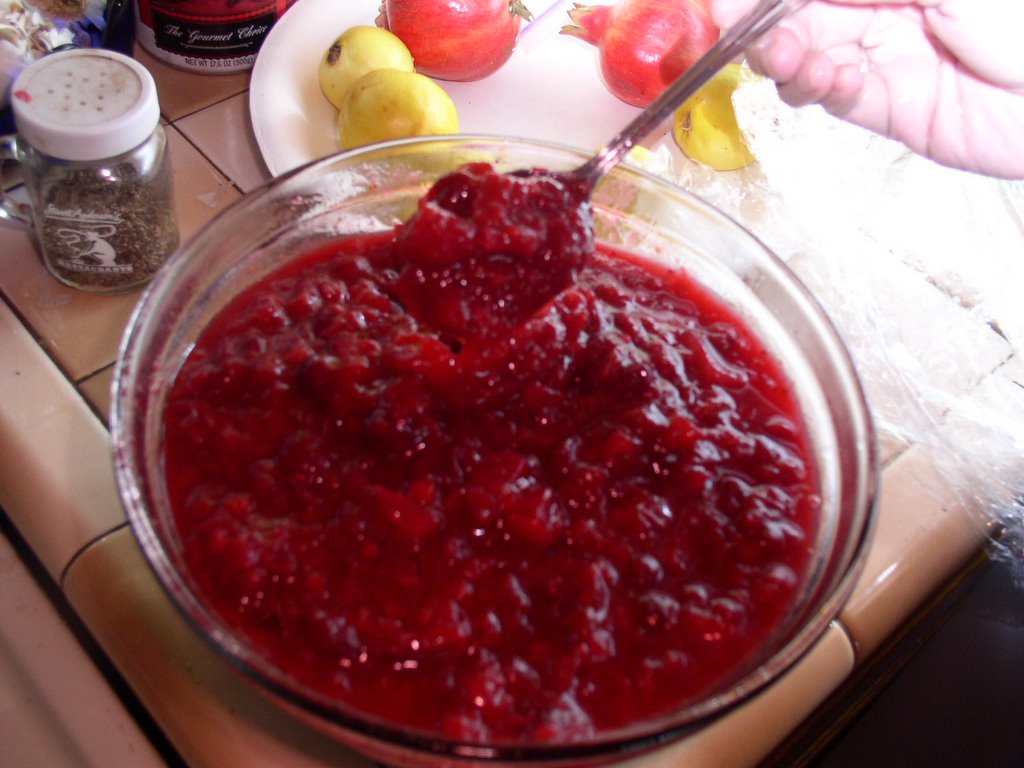
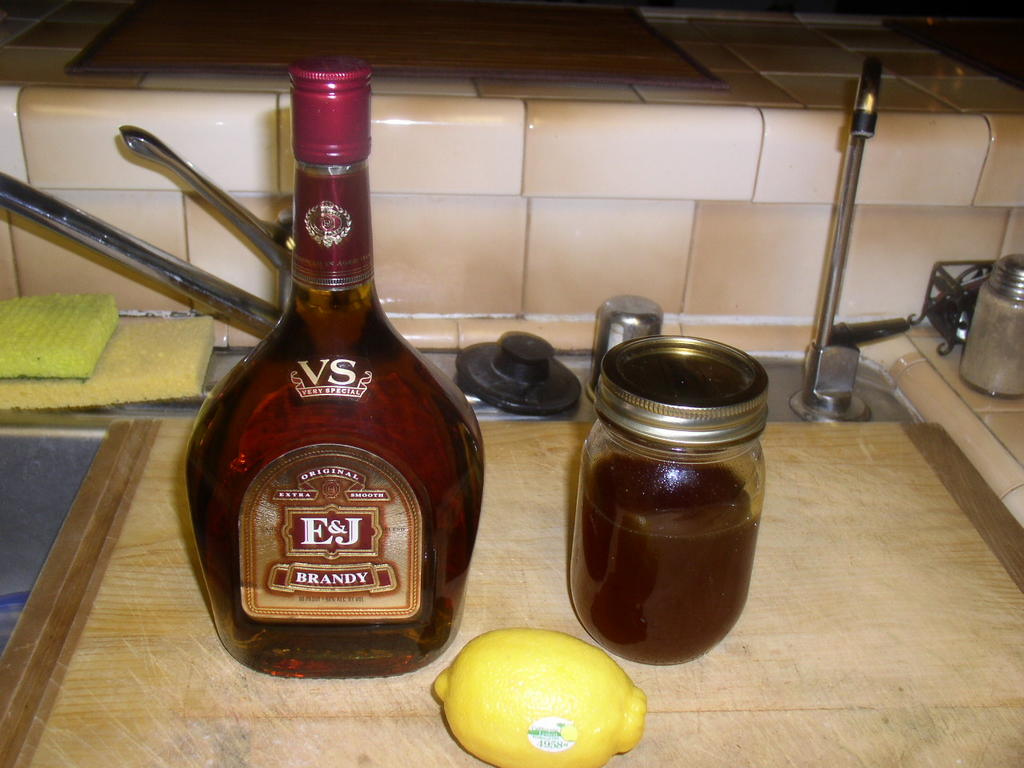
 Remove from heat, and let cool to room temperature then store in the refrigerator. Cooked cranberries can last up to a month in a covered container in the refrigerator and if cooked with alcohol, can last for many months in the refrigerator.


